How to remove the side fairings from the Yamaha R3
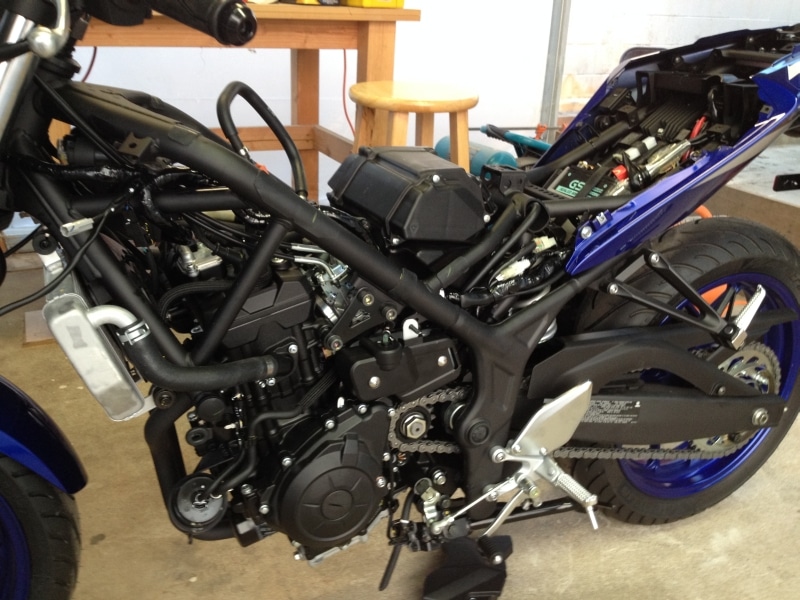
This post will cover how to take off the side fairings and lower fairings from the Yamaha R3. This may be helpful if you want to change the front turn signals for flush mount turn signals, change the exhaust or change the oil, or just repair crash damage. If you’re doing an oil change, always remember to put some cardboard down so you don’t get oil everywhere 🙂
***Update 6/8/15*** When I posted this, I hadn’t yet tried to do an oil change, but a few people have mentioned that it isn’t necessary to remove the side fairings to get to the oil filter (some say the filter is SOO tight they have to remove the fairings the first time to get the filter off), so that’s good to know!
Tools Needed:
4mm allen wrench
small pick or flat blade screwdriver
#2 phillips screwdriver
10mm socket
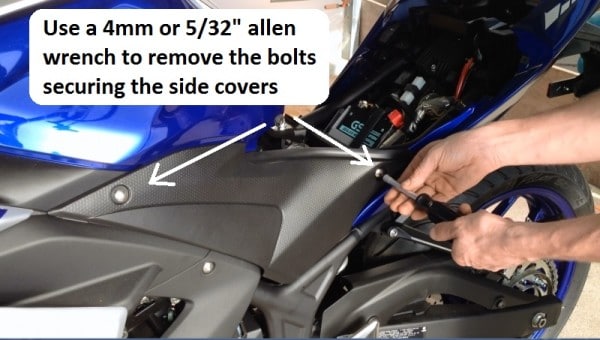
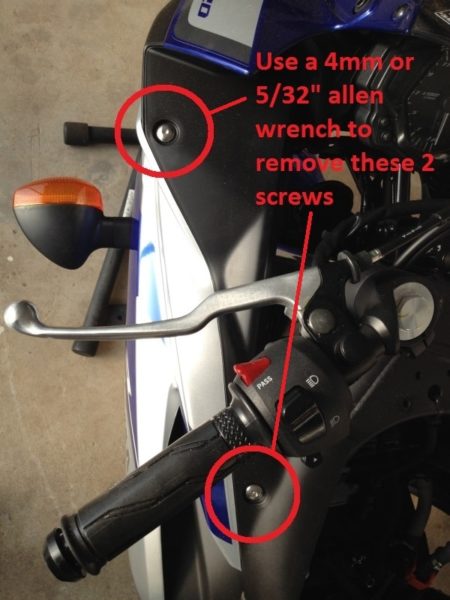
Step 1: Remove the side cover panels by removing the two screws from each side with a 4mm or 5/32″ allen wrench, then pulling the panels loose from the clips.
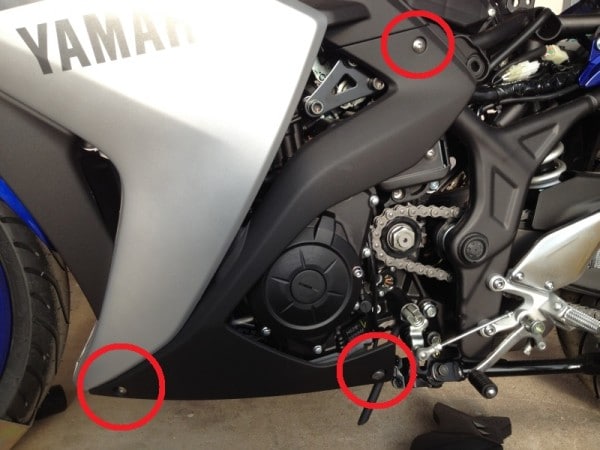
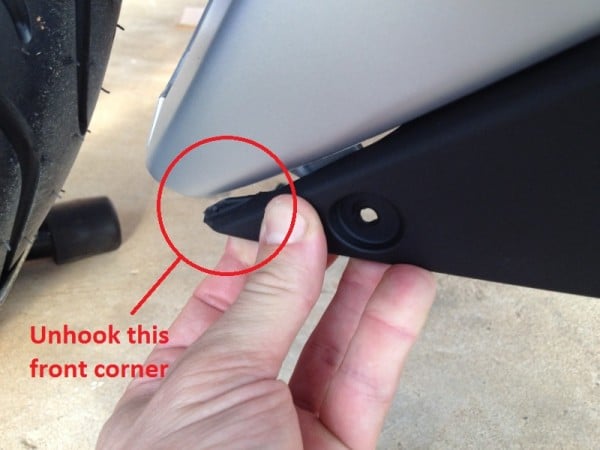
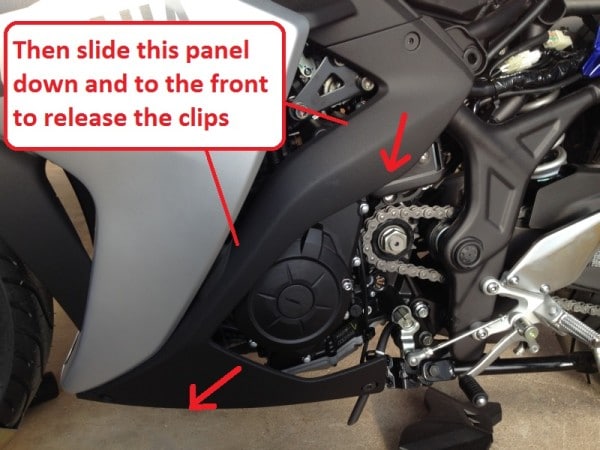
Step 2: Use a 4mm of 5/32″ allen wrench to remove the 3 screws holding on the black lower side panel. Then release the plastic tab in the front lower corner of the panel. Then remove the panel by sliding it down and to the front. Do not pull it out until it is loose, there is a large tab in the middle near the top that must slide down to release.
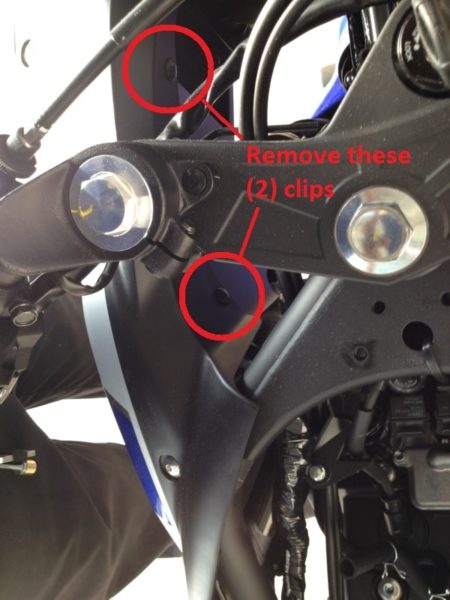
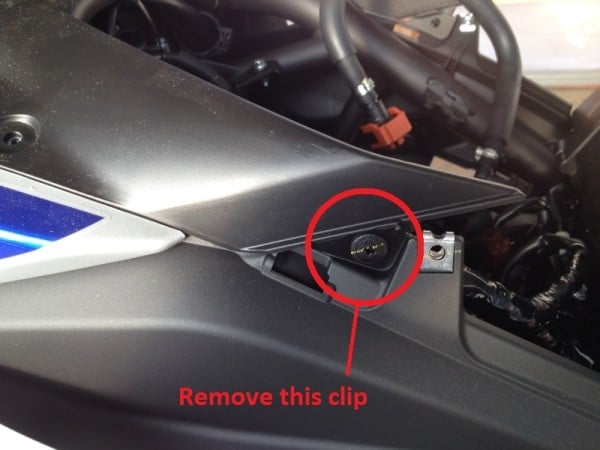
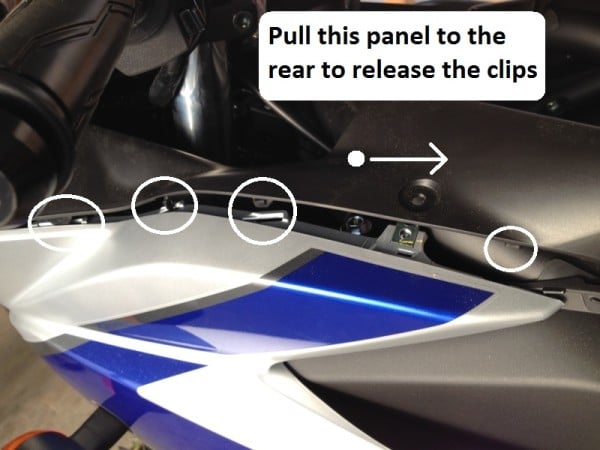
Step 3: Remove the inner black plastic covers from the top side of the side fairings. First remove the two screws visible from the top of the bike with a 4mm or 5/32″ allen wrench. Then remove the two plastic clips on the inside of the bike and one plastic clip from beneath the side cover panel that you’ve already removed. Use a phillips screwdriver to release the clips, then pry them out with your fingers or a small pick or flathead screwdriver. Finally, pull the panel to the rear of the bike to release the remaining tabs and remove the panel.
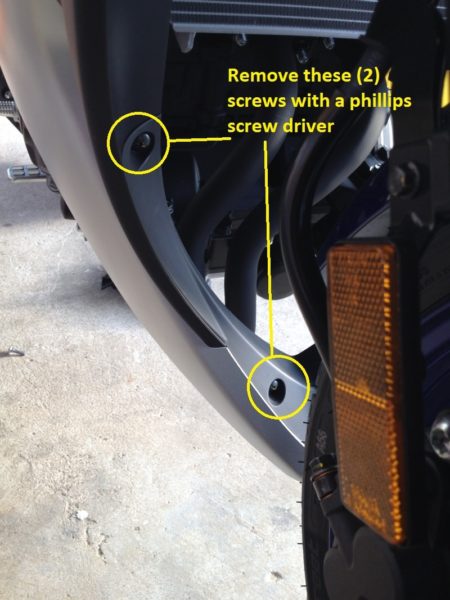
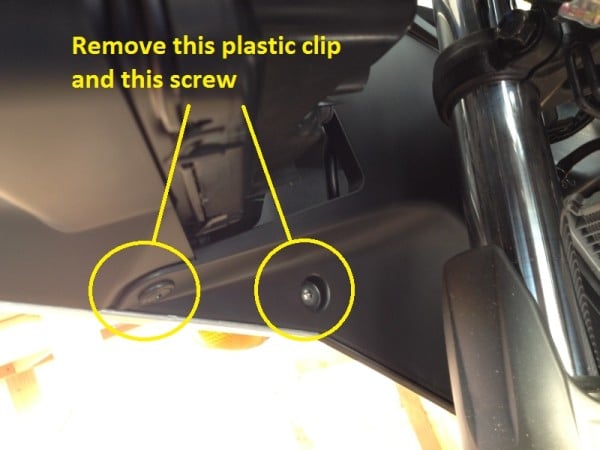
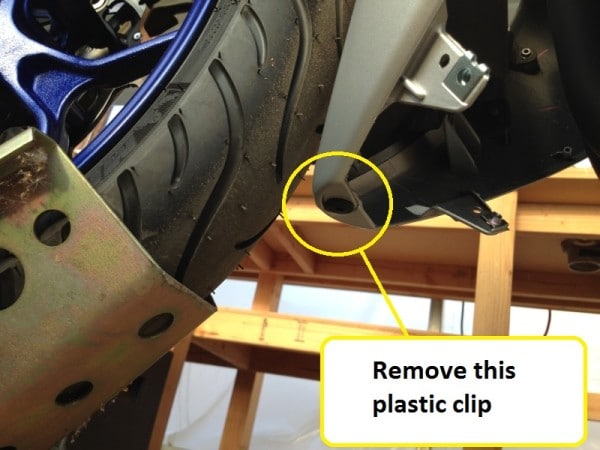
Step 4: Release the three lower inside black cover panels, do not try to remove them from the bike until later. First remove the 2 screws from the lower middle panel, be careful, these screws are VERY tight, use caution and support the panel with your free hand so you don’t break anything or strip the screw. Second, remove the screw and the plastic clip from the lower inside left and right panels. Finally, remove the plastic clip from underneath the bike to disconnect the left and right side fairings from each other. Allow the three black panels to remain in the bike until after the next step.
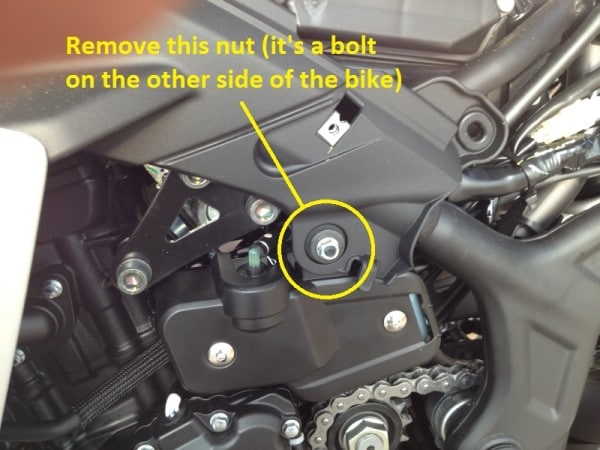
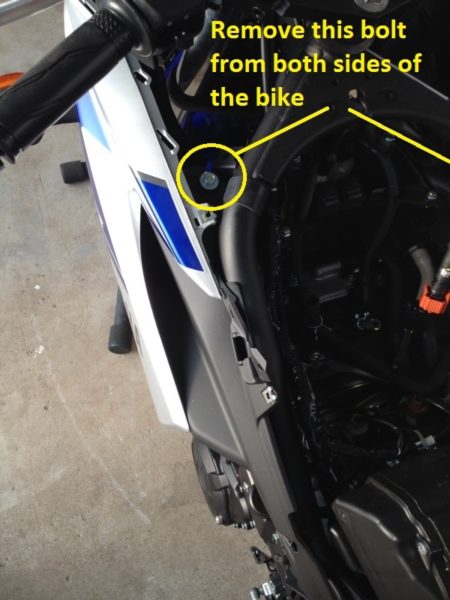
Step 5: Release the lower half of the side fairings by first removing the attachment near the seat (it’s a bolt on the right side and a nut on the left side), then removing the bolts from the top near the gas tank.
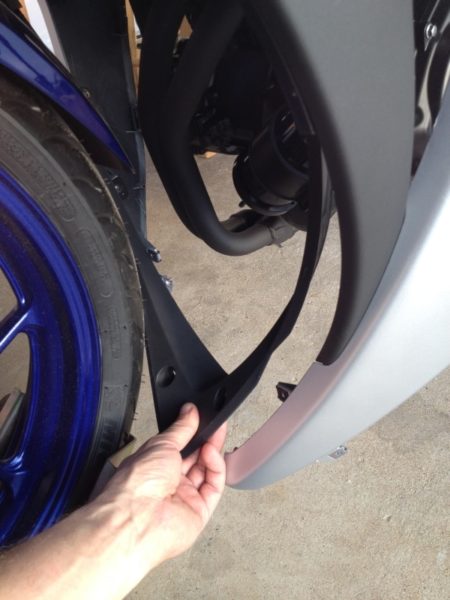
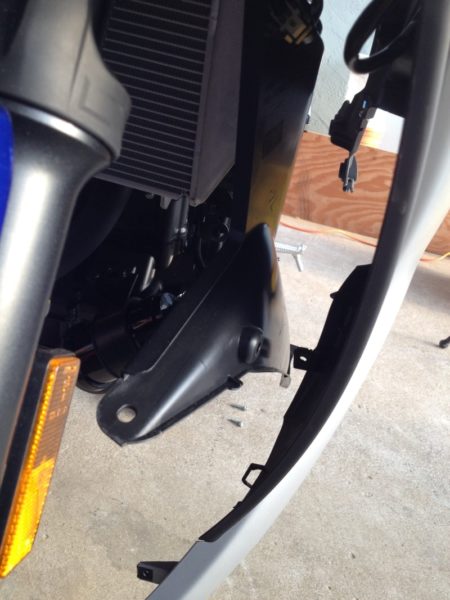
Step 6: You should now be able to pull the lower half of the fairings away from the bike and remove the lower middle inside black trim panel. Leave the lower left and right inside black trim panels hanging in the bike until you remove the side fairings, they have some wiring clipped to them that will hold them in place.
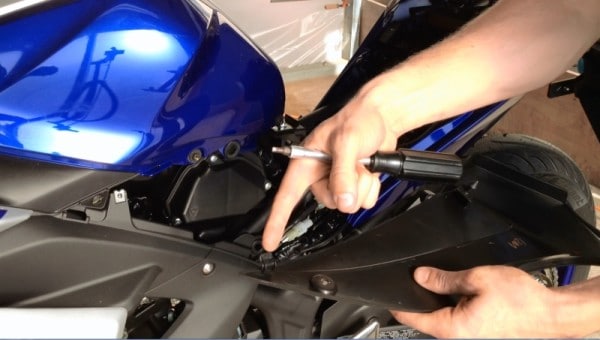
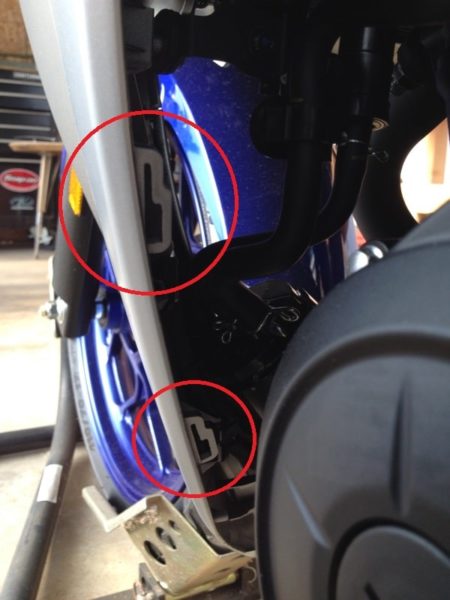
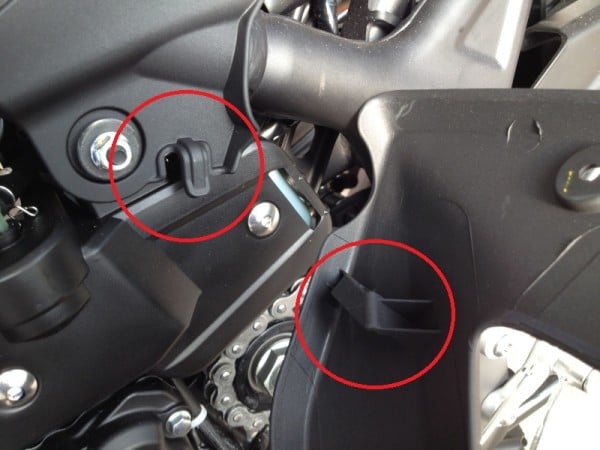
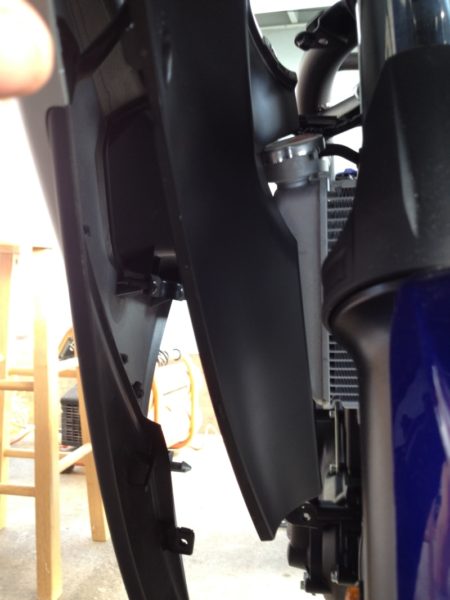
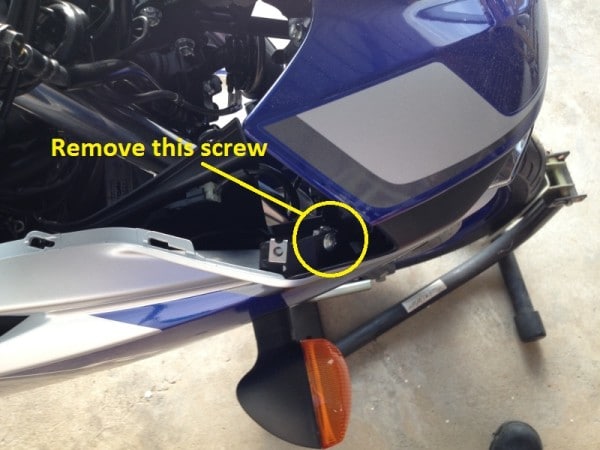
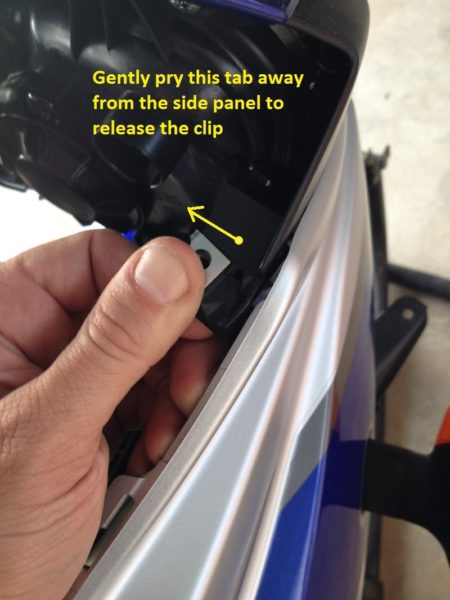
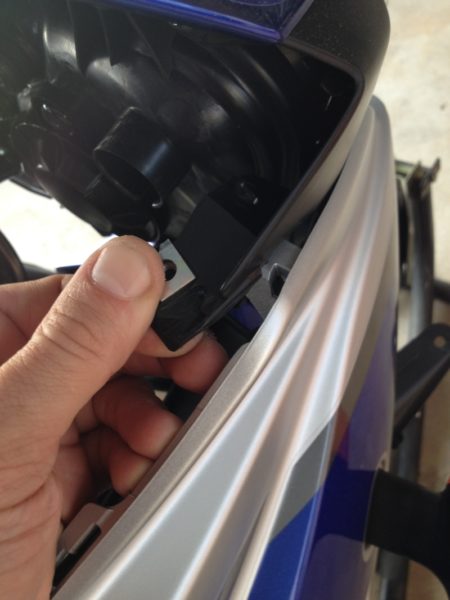
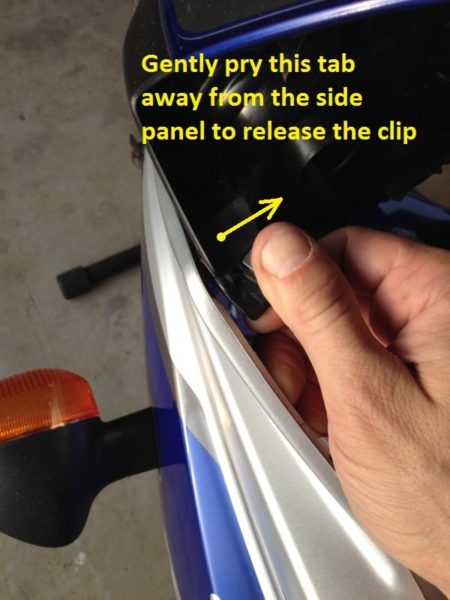
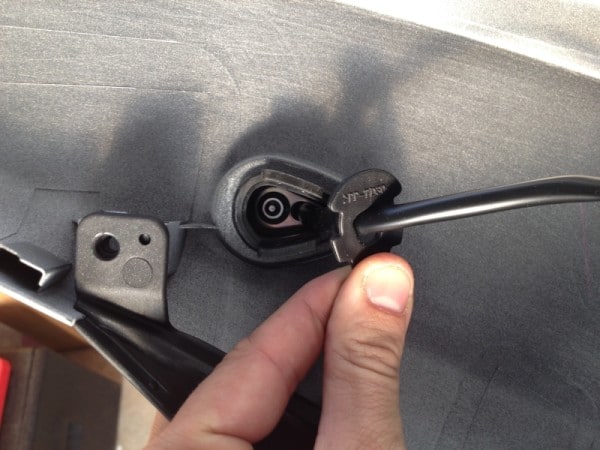
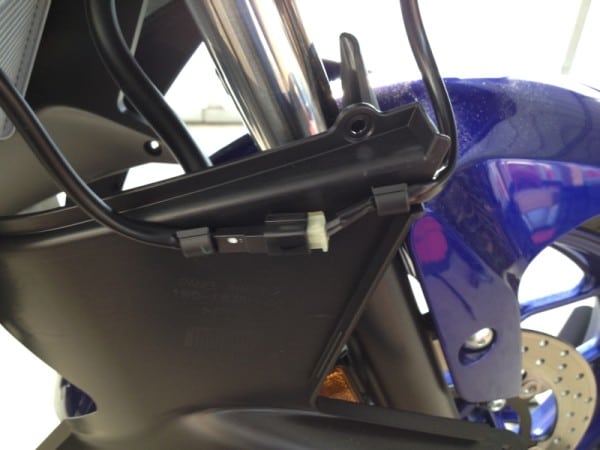
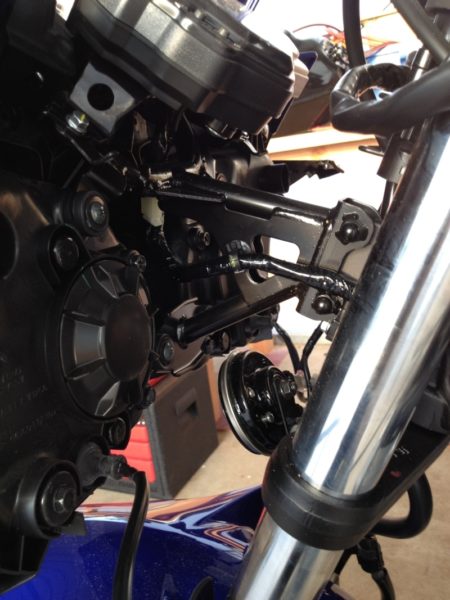
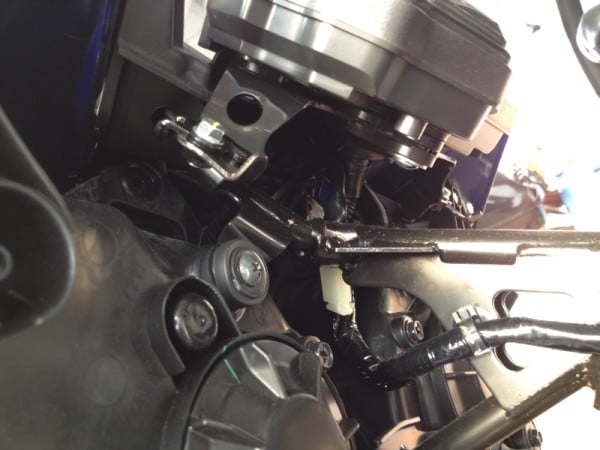
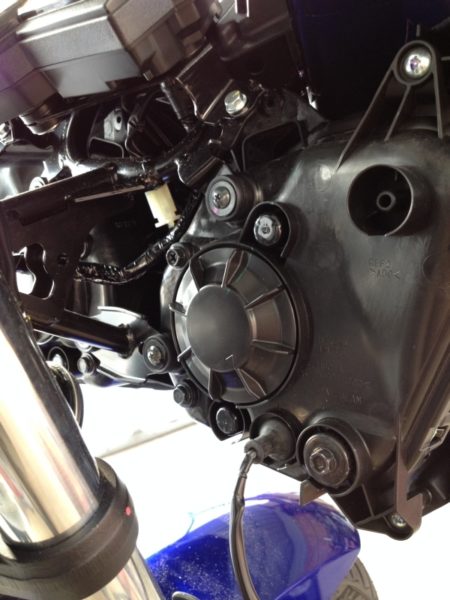
Step 7: Remove the side fairings by removing the last screw from the top that attaches them to the upper fairing, unclipping them from the upper fairing (see picture below), the sliding the entire fairing slightly toward the front of the bike. Once the fairing is loose, you can unclip the turn signal. Once the side fairings are removed, the turn signals can be accessed or removed by prying out the metal cover from the rubber piece, and pulling out the entire turn signal, you don’t have to remove the 8mm nut.
Step 8: Now you can unclip the lower inside left and right black panels from the wires and remove them from the bike if you need to.
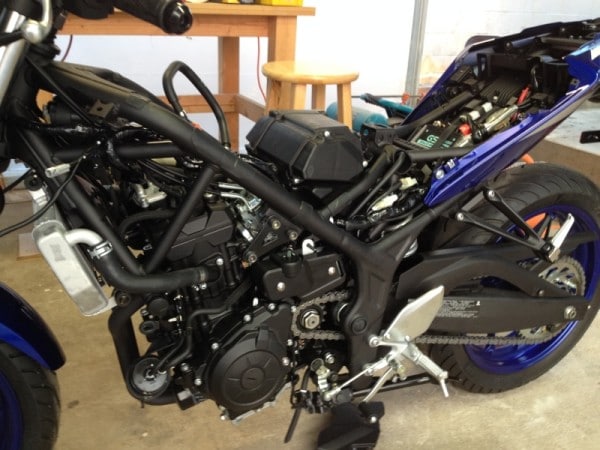
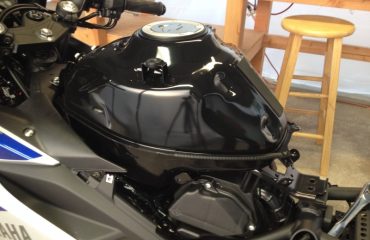
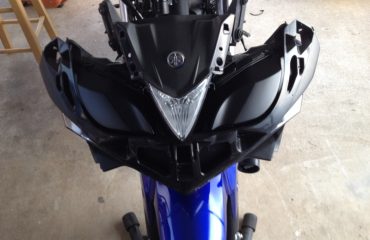
That’s all! Behold the Yamaha R3 in all it’s naked beauty!
Thanks for reading! Please leave comments or questions below!
About Norton Racing
23 Comments to “ How to remove the side fairings from the Yamaha R3”
You must be logged in to post a comment.

EXCELLENT WRITE-UP, BRO
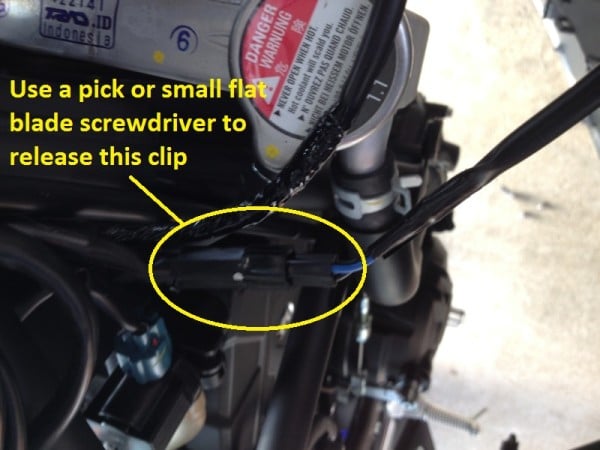
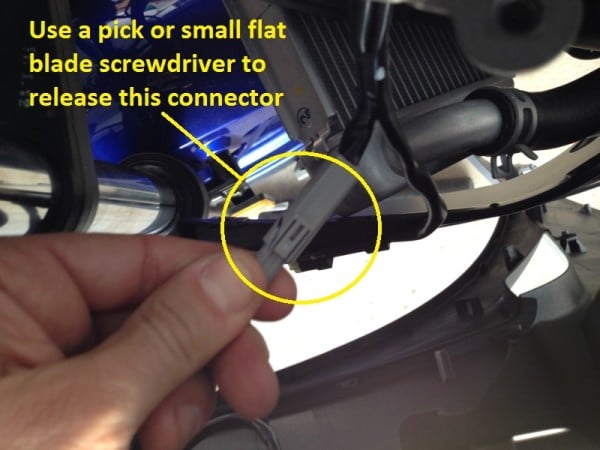
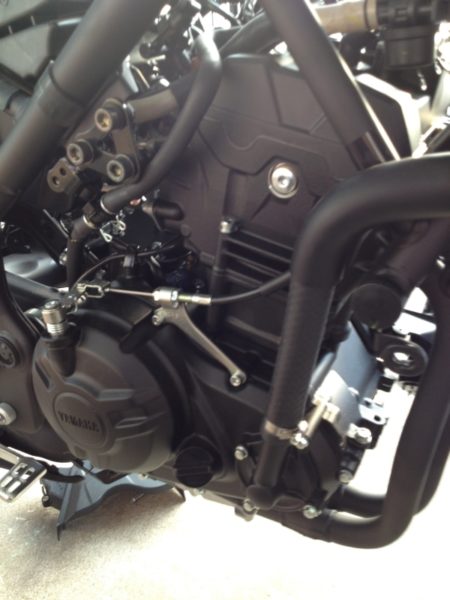
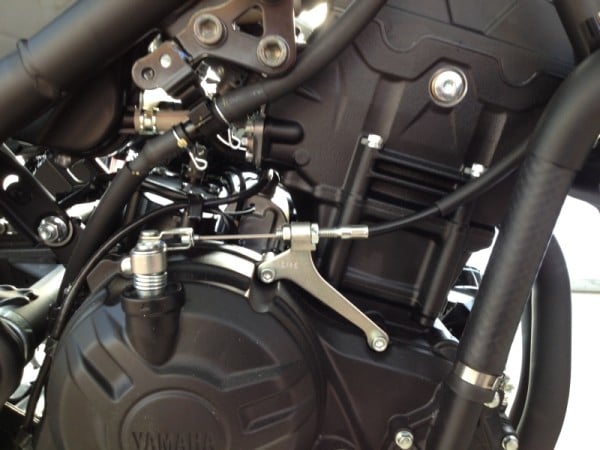
hey, how do you release the connector & clip of the cable using flat screwdriver??
Here’s a photo to give a better idea:

wow what a great post. Thanks a lot!
What is involved with making the bike fully functional without the fairing? I would love to build a “naked bike” out of a new R3, but have limited experience with contemporary Japanese bikes. Thank You Paul
You shouldn’t have any problems removing the fairings. You’d just have to figure out how to mount the basic things like turn signals and lights. In fact, it appears that Yamaha will be releasing the FZ-03 naked version possibly before the end of the year in the US.
Excellent DIY and thanks for the high quality. I just replied on a post where you referred to a video of this. Is there one? I did not see it listed on the other aftermarket company website you referred to.
I don’t see your reply, what video are you looking for? If I have a broken link I’ll fix it right away, thanks!
http://www.r3-forums.com/forum/showthread.php?t=50658
They haven’t posted it yet unfortunately… I’ll bug them about it.
Tried your tutorial and it made it all easy. Thanks for this.
Thanks for the great write-up! Helped me change the turn signals to flush ones. This was nice and easy to follow.
Dear Sir,
Detailed progress shots really touched! Thanks for information.
Anyhow, If you don’t mind Could I simple asking for that.
Still I’ve no chance to disassemble the whole fairing on my R3.
but, the repair shop has once last time.
After then, I’ve suffering from the “Buzzing” Noise when the RPM running thru and staying 5000~5300rpm.
it likes kinda sharp and some metal with plastic sticks toghther…but I’ve no idea…
By any chance, If you think something has possible to lead it, Plz Let me know…
Sorry for asking 🙂
Sometimes things can be loose after the fairings are taken apart. Look for wire looms that are not clipped in anymore, or zip ties vibrating against the fairing. Listen close when the bike is on stands to find the vibration.
Good luck
Is there a detailed tutorial similar to this on how to put all the fairing back.
Hello, since the Mt-03 is based on the R3, do you think its possible to bolt on a set of R3 Fairings onto the MT-03?
Thanks!
In theory they would fit, but I don’t know if all the mounting tabs and brackets and stuff will be there…
ah.. thanks for the reply anyways! love the site!
Hi, i would like to ask, can the side cover tail for R3 fix to MT03 abs 2015? Reason is i’m riding MT03 but i’m intending to remove the pillion handrest, thus living 2 big hole behind. R3 tail side cover is 1piece without holes for the handrest, making the bike look clean and smart.
I’m not sure. Both bikes are built on the same platform, but I’m not sure all the mounting brackets will be there.
Great writeup, thanks! When I go through this guide more carefully I’ll be able to find out where the one leftover screw goes…
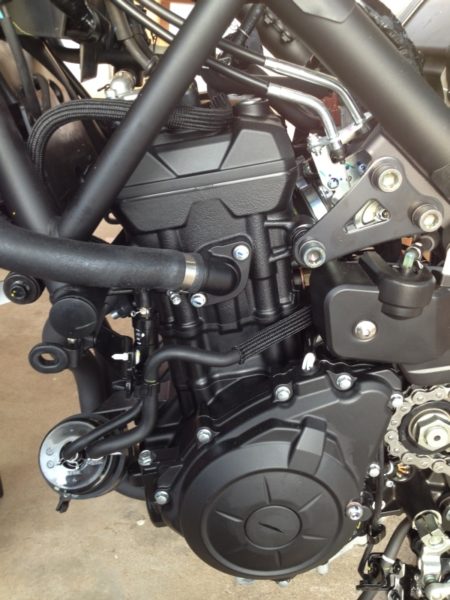
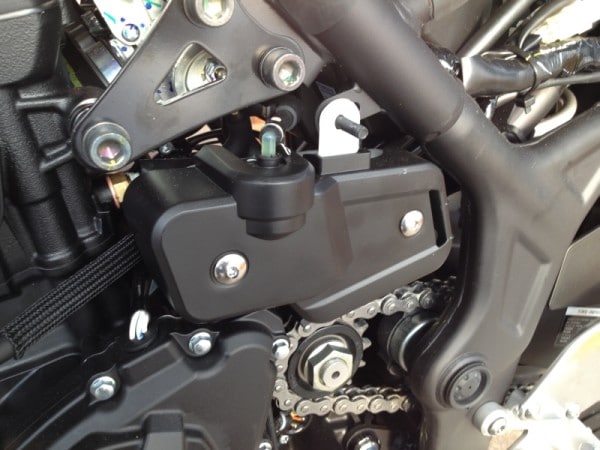
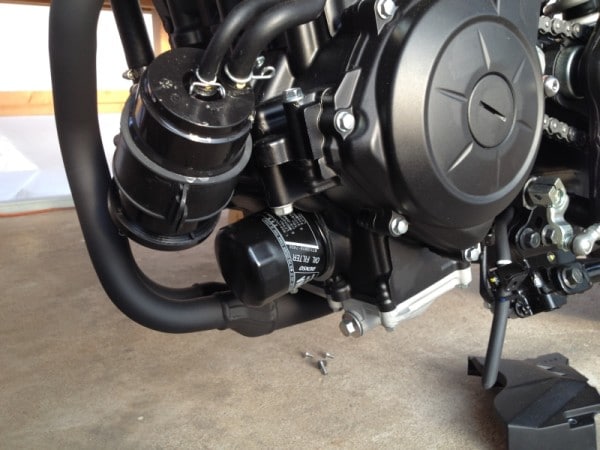
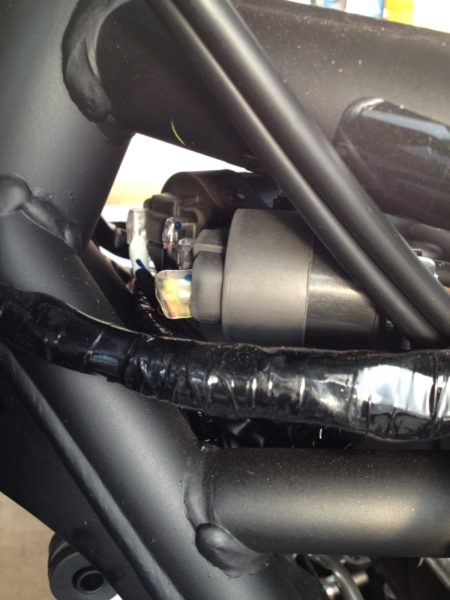
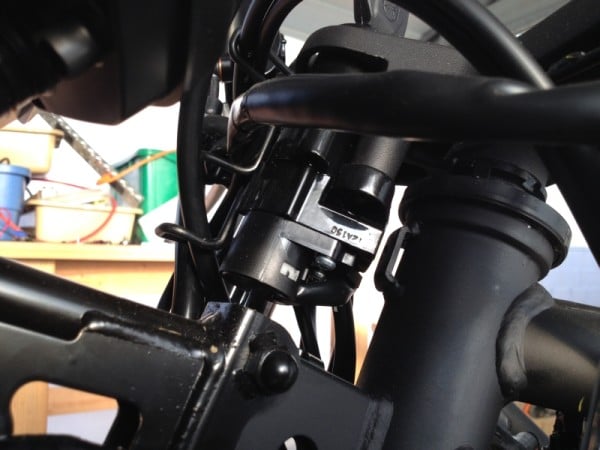
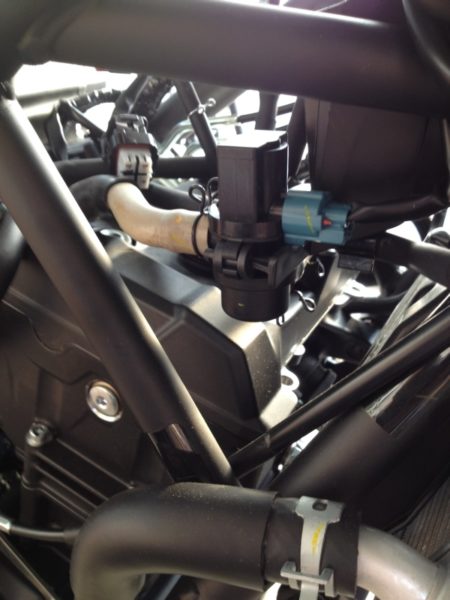
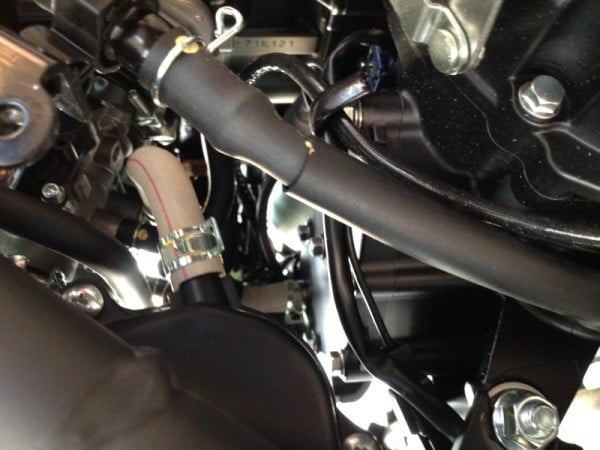
Out of curiosity, what is the cylindrical thing in IMG0240? Is it a fuel filter? I ask because my R3 (purchased new in New Zealand) doesn’t have this. I used the (unused) mount for this thing to attach an airhorn to the frame.
the charcoal canister probably? some countries don’t have this smog equipment.