How to remove the front wheel from the Yamaha R3 / MT-03
This post was written by mfgchapin from R3-Forums and I only added a couple extra notes, thank you mfgchapin!
Tools needed:
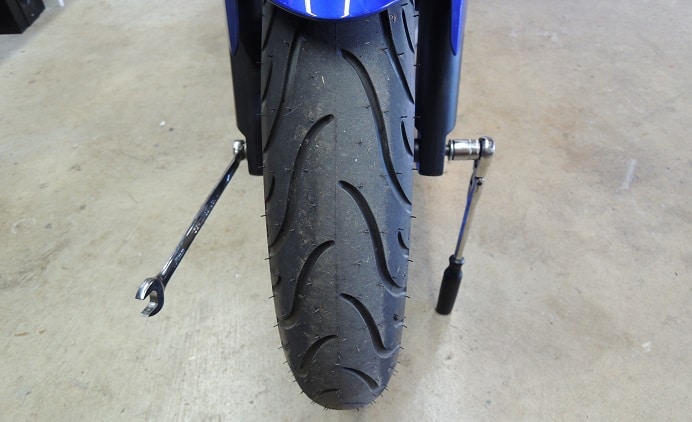
19mm socket
17mm socket or wrench
Torx size 50
Rear stand
Front stand
Torque wrench
Possibly a flat blade screwdriver to spread the brake pads
The front has a few more steps than the rear, but it’s actually a lot easier since there’s no chain and the brake will be out of the way on reassembly.
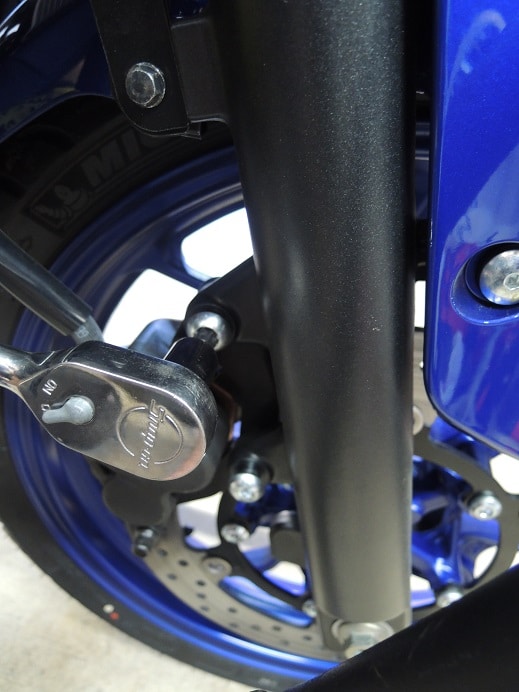
Step 1: Put your bike on the rear stand and loosen the front axle a turn or two with the 19mm and 17mm, and loosen the two Torx bolts holding the brake caliper. Never loosen the axle nut while the bike is on a front stand, since it can either break the pin on a triple tree stand, or pull the bike off a fork stand. And, it’s much easier to break the Torx bolts loose while the front wheel is still on the ground and can’t spin.
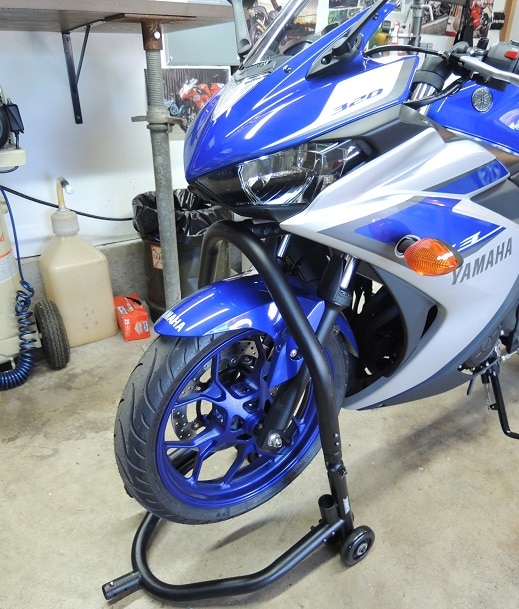
Step 2: Put the bike up on a front stand. Always have the bike on a rear stand first, then put it on the front stand. Never use a front stand by itself.
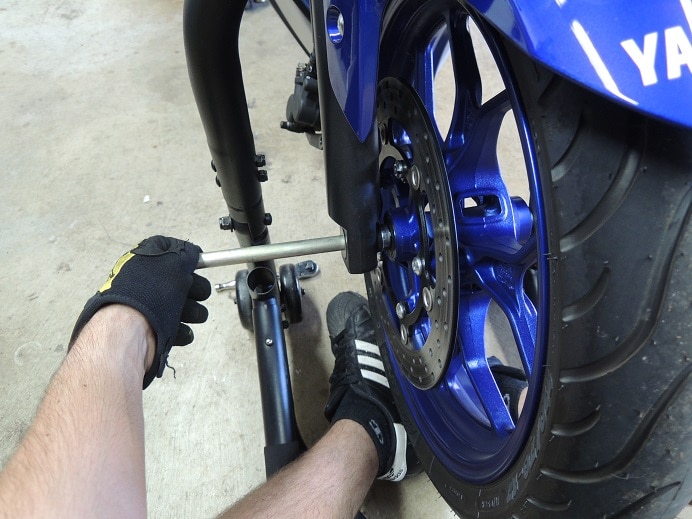
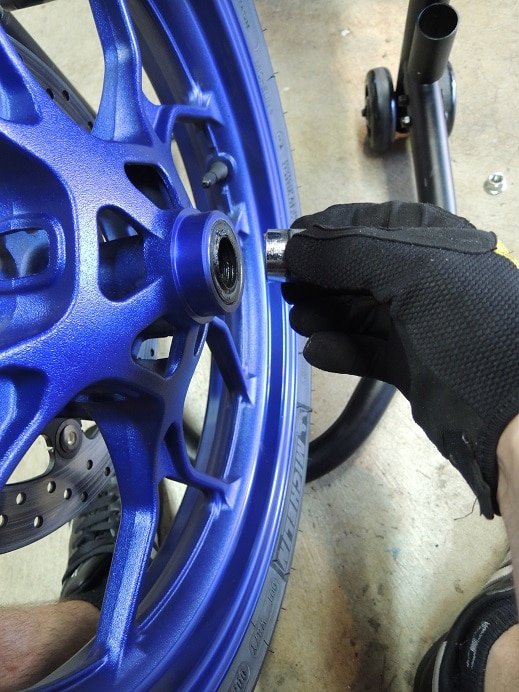
Step 3: Take the caliper bolts all the way out and pull the caliper back off of the disc and to the side. Loosen the axle all the way and the 19mm bolt will come out of the left-hand side of the bike. Place your foot or a wedge under the wheel and pull the axle all the way out of the right-hand side of the bike.
Step 4: Roll the wheel forward and remove the spacers, one on each side.
It’s never a good idea to let calipers dangle for very long, especially with rubber brake lines, so put the caliper back in place with the two Torx bolts. No need to crank them down, they’re just to hold it in place while the wheel is off. Don’t squeeze the front brake lever or you’ll have to pry the pads apart to get the wheel back in! If you do need to pry the pads apart to reinstall the caliper, GENTLY use a flat blade screwdriver. Keep in mind, spreading the pads will force brake fluid back into the reservoir, so if your reservoir is full, or you have removed the oem reservoir, be careful about overflowing or drain some fluid out first. Also, if has been awhile since you changed your pads, the pistons may be very dirty. If so, it’s not a good idea to force the dirty pistons back into the caliper by spreading the brake pads. You may want to clean the pistons first. See Step 3 of my post here on changing brake pads.
The wheel is ready for a new tire; leave the brake disc on for balancing.
I usually take this opportunity to make sure the axle is well-greased and I put a dab of anti-seize on the axle threads and caliper bolt threads.
Reassembly is the reverse. Take the caliper off again, put the spacers back in the wheel and roll it between the forks. Lift it up with your foot so the spacers line up with the axle holes in the forks. Slide the axle through and spin the nut on until it seats lightly. Slide the caliper onto the brake disc and thread the bolts in a few turns.
With the axle installed finger tight but not torqued down, take the bike off the front stand (leave it on the rear stand), and bounce down on the front end a couple of times. This helps align the forks before you tighten everything down. This is more critical with bikes that use pinch bolts to locate the axle, but it’s still a good idea with the R3. Finally, torque the axle nut to 52 nm (38 ft lbs) and the brake caliper bolts to 35 nm (26 ft lbs). Pump the front brake lever to be sure the brakes are seated against the rotor before you ride.
***note by Jesse Norton: I had the interesting experience of having an incredibly difficult time removing the front axle, and and even more difficult time reinstalling it. It turned out that one of my forks was clamped slightly higher in the triple clamp than the other from the factory. This caused the holes for the axle to not quite be in line unless one of the forks was slightly compressed. Once I leveled the forks, the problem was gone. Something to keep in mind if any of you have the same issue.

You must be logged in to post a comment.