How to bleed the brakes or flush the brake fluid on the Yamaha R3 / MT-03
***UPDATED 11/9/18, ADDED A LITTLE TRICK TO FIRM UP THE LAST LITTLE BIT!
How to bleed the brakes or flush the brake fluid on the Yamaha R3:
I wanted to separate this information into a new post because sometimes you just need to bleed the brakes or flush the brake fluid without changing brake lines or pads or anything. I also prefer to use pressure from the brake lever instead of vacuum from a pump to bleed or flush the lines with new fluid. This post will cover bleeding the front brakes and flushing the fluid through the front brake line, but bleeding and flushing the rear brakes uses exactly the same process, you just press the rear brake lever instead of the front brake lever, duh.
Tools Needed:
8mm wrench
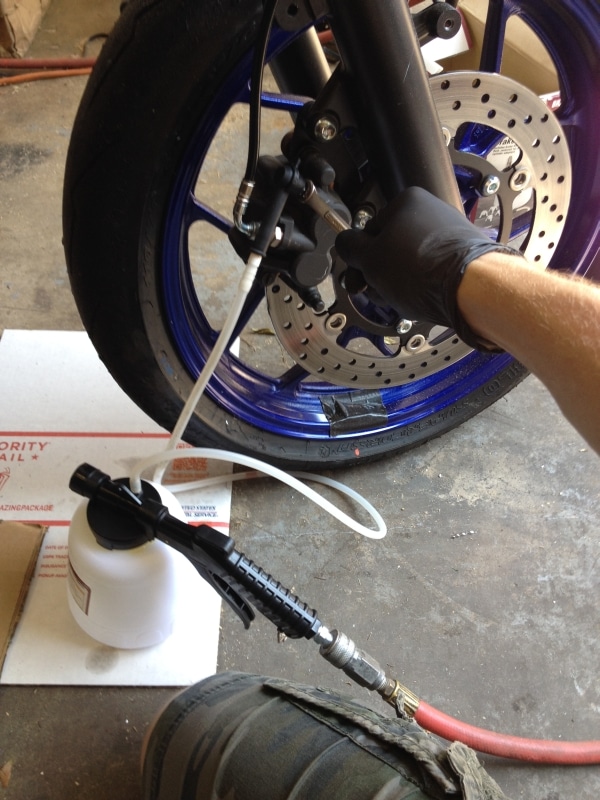
bit of hose to collect the brake fluid, I use the hose connected to my vacuum pump that I talked about in my post about installing a stainless steel front brake line
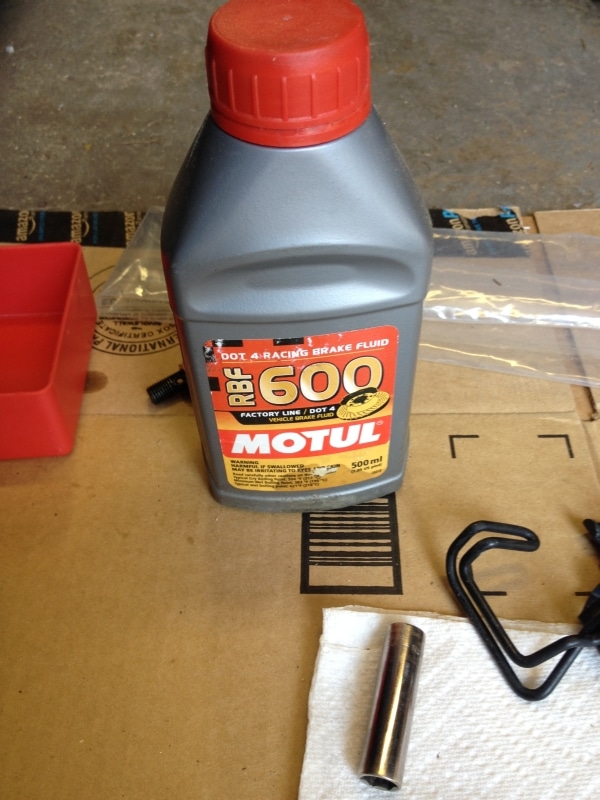
fresh bottle of brake fluid, I use Motul RBF600 racing brake fluid:
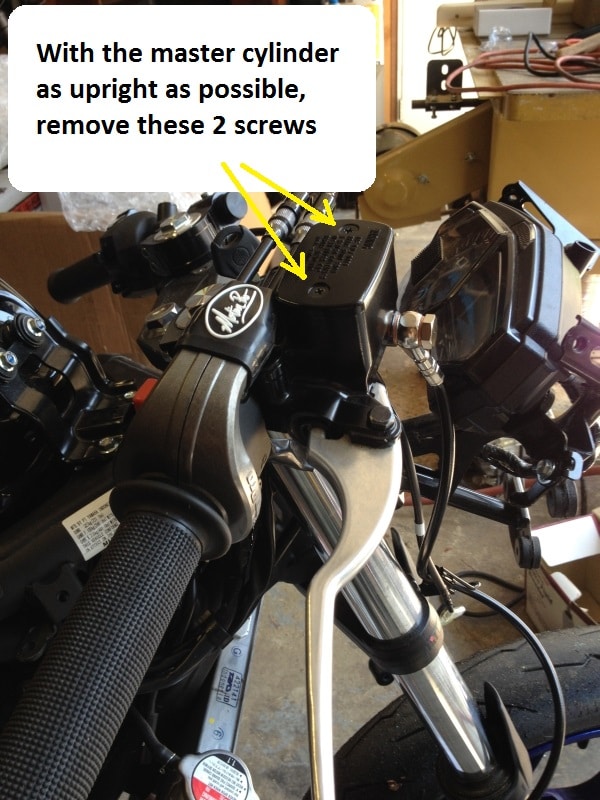
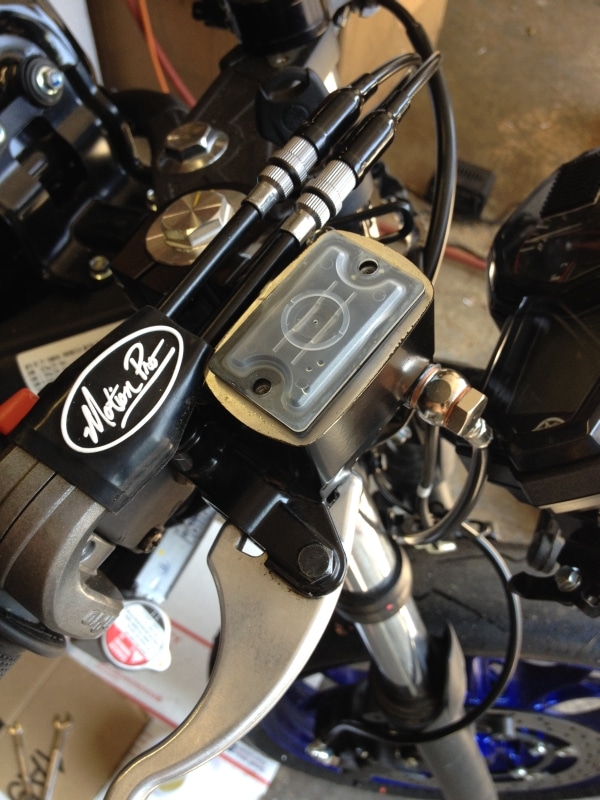
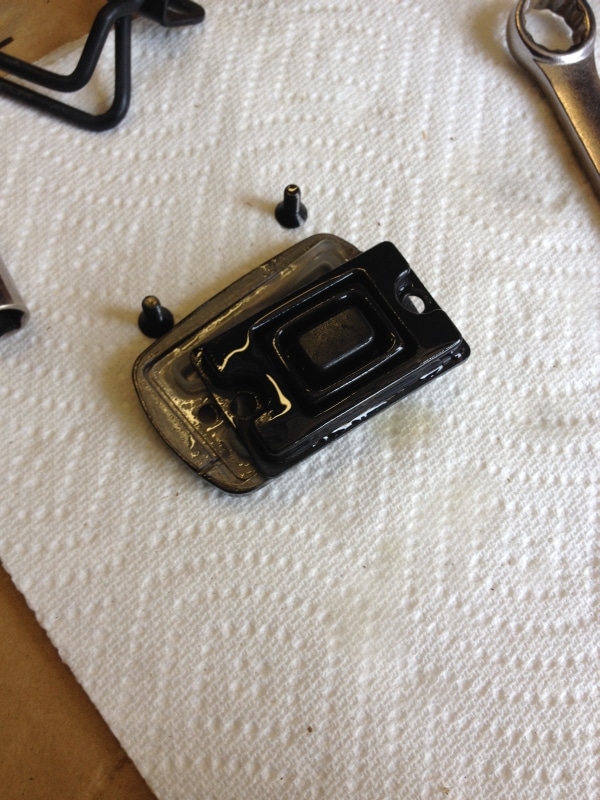
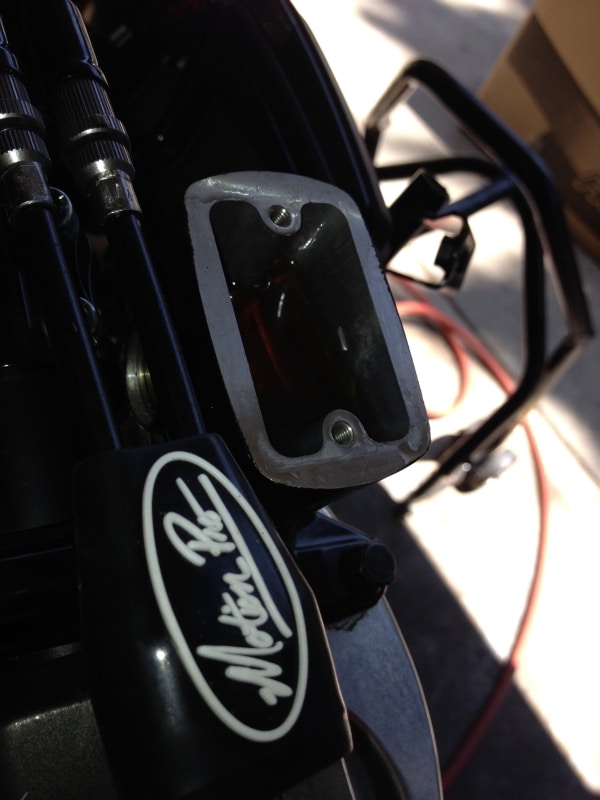
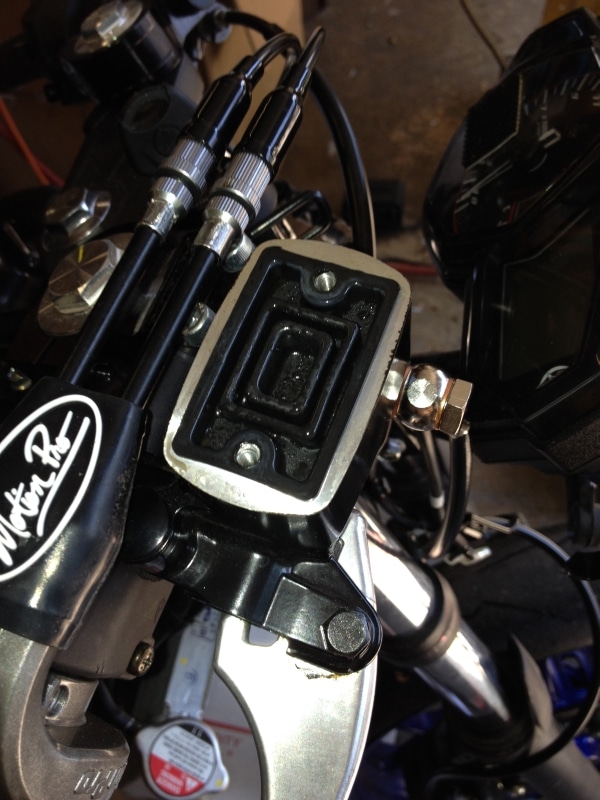
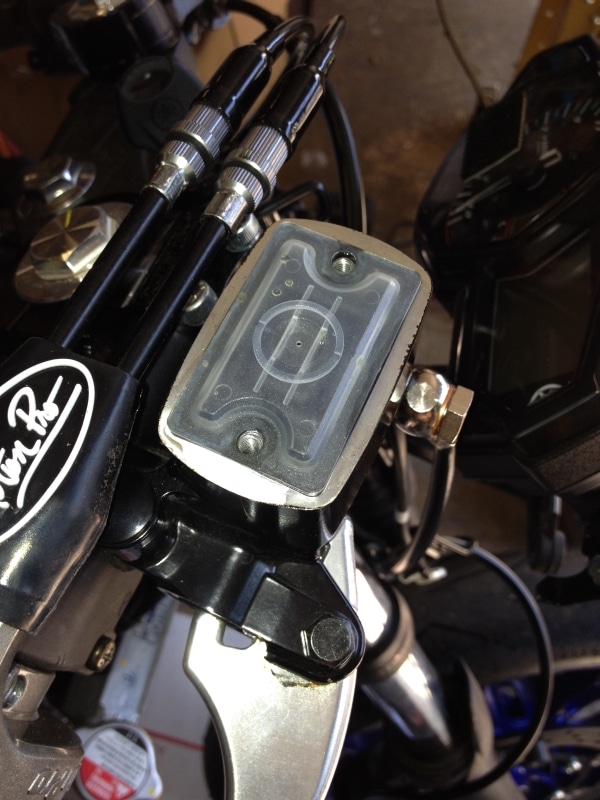
Step 1: Set the bike on the kick stand instead of a rear stand. Turn the bars all the way to the left, and unbolt the brake lever so you can tilt the reservoir as upright and flat as possible, then clamp the lever again so it doesn’t move when you squeeze it. Remove the cover, plastic insert, and rubber boot from the reservoir.
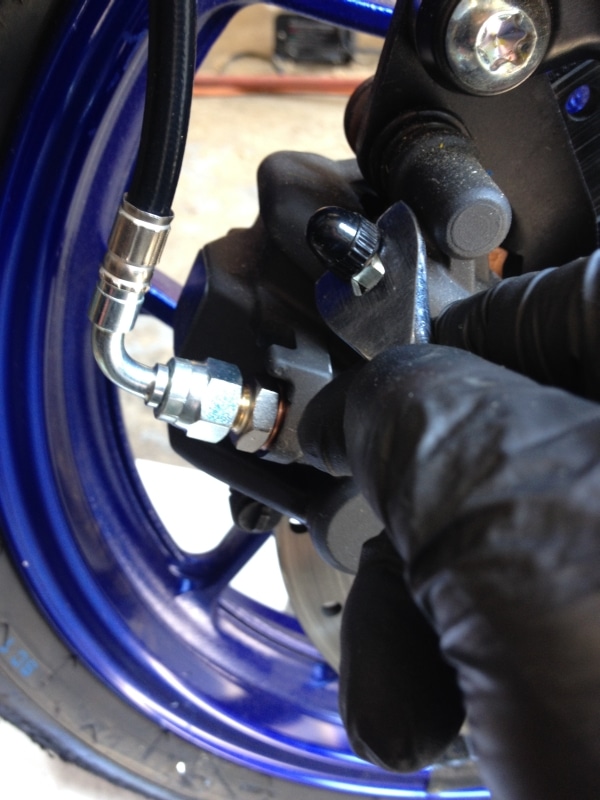
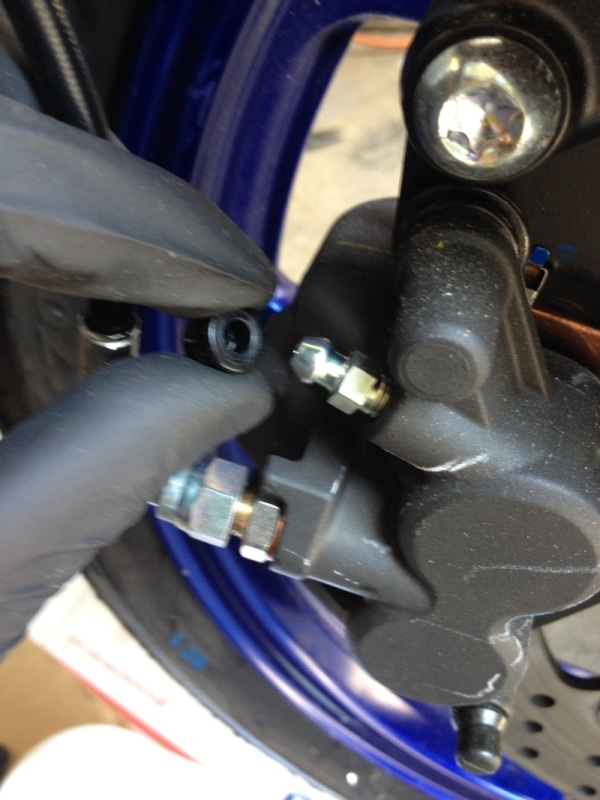
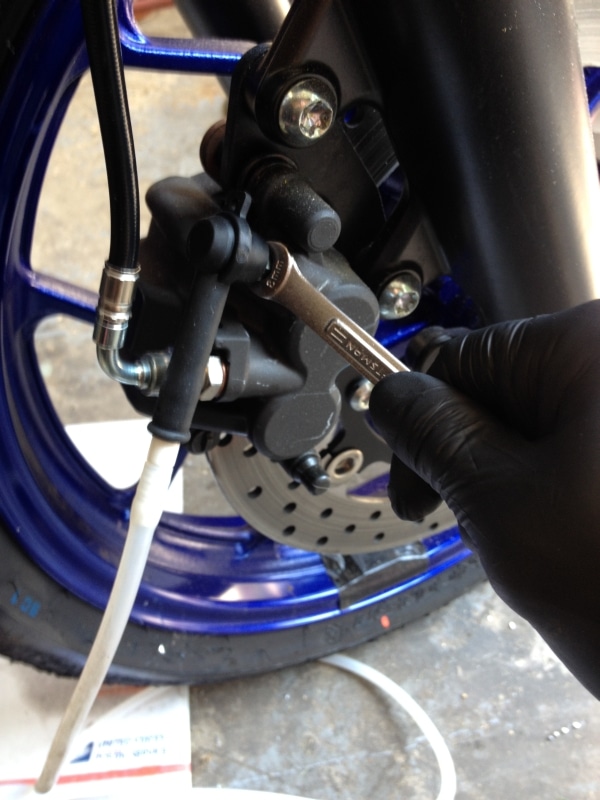
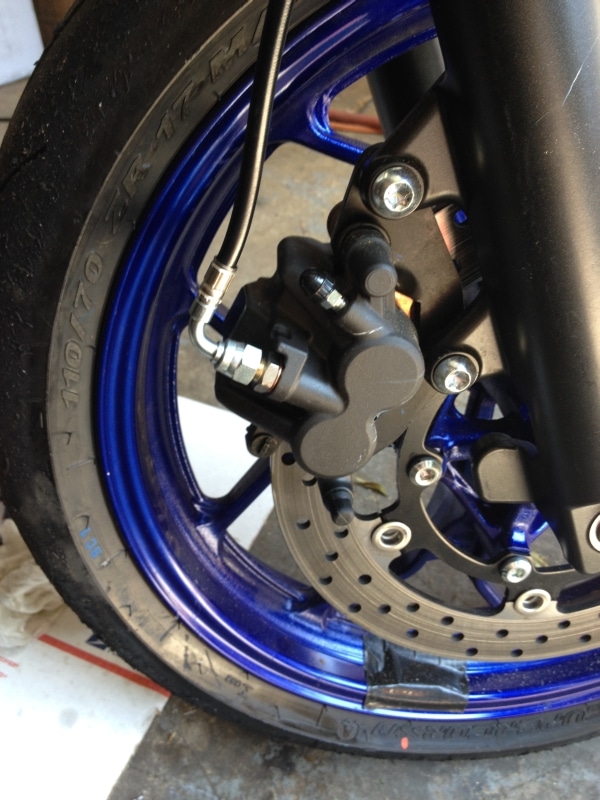
Step 2: Pry off the cover for the bleed nipple and connect a drain line to the bleed nipple at the caliper, I use the line on my vacuum pump.
Step 3: Fill the fluid reservoir with fresh brake fluid as high as you can without spilling. Brake fluid gets crusty after sitting open on a shelf for too long, so always use fresh brake fluid, or at least check your fluid before pouring it into the reservoir and making a crusty mess.
Step 4: Squeeze the brake lever to apply pressure to the line, then while squeezing it, crack the bleed nipple open just far enough so that fluid starts to flow and you feel the lever move. Squeeze the lever to force fluid into the line. Close the nipple again before the lever bottoms out and stops moving. Pump the lever a few times until you feel pressure in the line again, then repeat step 4 until all air has been forced out of the bleed nipple, or until you see the new fluid coming out of the bleed nipple (it’s generally a different color than the old fluid). Here’s a video to more clearly illustrate this process:
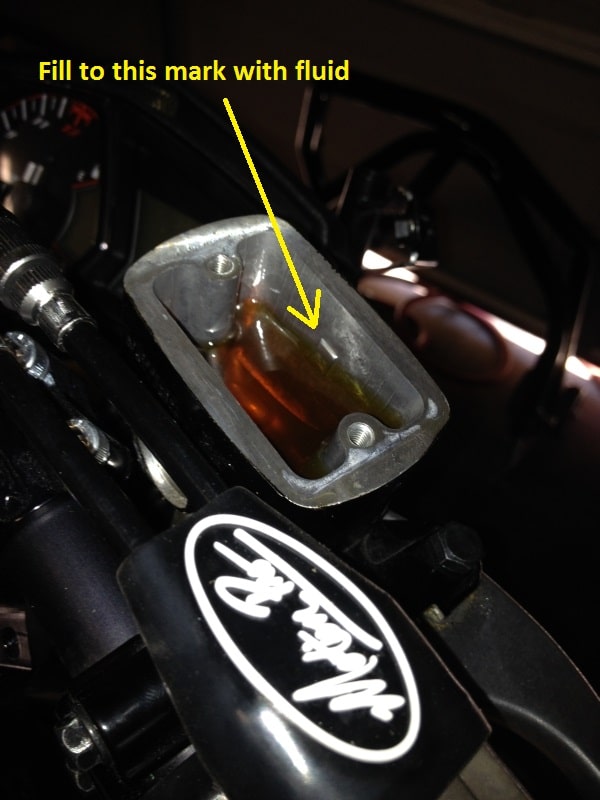
Step 5: PRO TIP: There is a spot at the top near the master cylinder where one last air bubble likes to get stuck, and because the R3 has no bleed nipple at the top, there are a few tricks to getting this last little bubble. You can tilt the bike to the left and tap the line, but I have a better trick that I use now. After you bleed the line and have it as firm as you can get, remove the front caliper from the fork and rotor. Use a flat blade screwdriver to force the brake pads all the way back in. With the caliper pistons all the way in, fill the master cylinder reservoir to the mark at the top. (see picture in the next step). Carefully start squeezing the brake lever repeatedly and watch the pistons in the caliper. They will start to push out. You can remove the brake pad on the piston side, or leave it in place, it’s up to you. Continue squeezing the lever repeatedly to allow the pistons to extend. Usually one of them has a little less friction and will try to extend while the other stays still, so you can apply a little pressure with your fingers to the piston or side of the brake pad where the piston is moving while you squeeze the lever to get the other piston moving also. Take note of how deep the hole in the pistons are, and make sure you don’t force one or both all the way out of the caliper. You can safely extend the pistons about 1/2″. Keep an eye on the master cylinder to make sure you don’t run out of fluid. If you topped it off, you shouldn’t run out of fluid. Once you have the pistons both extended about 1/2″, use the screwdriver on the brake pads, or your fingers directly on the pistons, and force the pistons back into the caliper. This will force fluid from the caliper back up the line and back into the master cylinder. The fluid moving up will take any last bubbles with it and they’ll come up into the master cylinder. Once you force the pistons all the way back in, you’re done bleeding. Install the caliper back on to the fork and rotor, and pump the brake lever as many times as necessary until the pads touch the rotor again and the lever feel should be extremely firm.
Step 6: Make sure the reservoir is filled to the mark in the inside of the reservoir with fluid (add more, or suck some out with the vacuum pump or a turkey baster), then place the rubber boot in, then the plastic piece, then the cap, and screw the cap back on. Readjust your brake lever wherever you like it, push the cover back onto the bleed nipple, and you’re all done!
About Norton Racing
3 Comments to “ How to bleed the brakes or flush the brake fluid on the Yamaha R3 / MT-03”
You must be logged in to post a comment.


Hi,
Great article 🙂 but I have one question. Is the same procedure for R3 with ABS system?
I’m not sure to be honest, I’ve never bled a system with ABS.
Yep. With or without abs, the bleeding procedure is the same. No different in method.
But just a heads up, the bleeder screw is pretty soft. Don’t over tighten or it will break. I found out the hard way.