How to install a stainless steel braided front brake line on the Yamaha R3 / MT-03
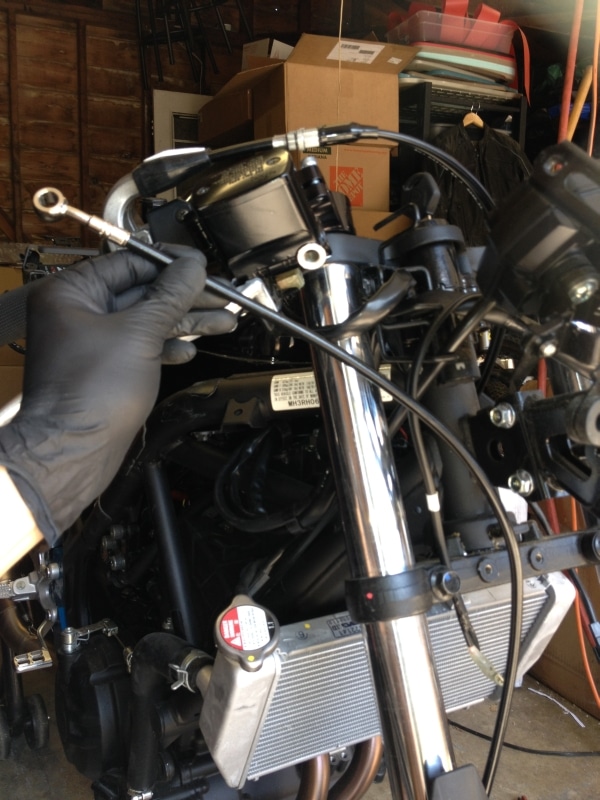
***UPDATED 11/9/18 (some photos have been updated, so pictures may have different color lines)
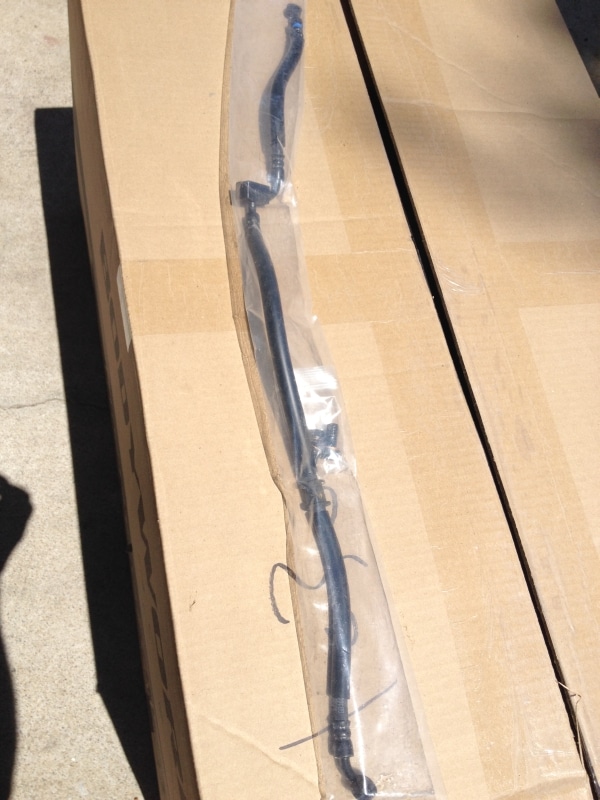
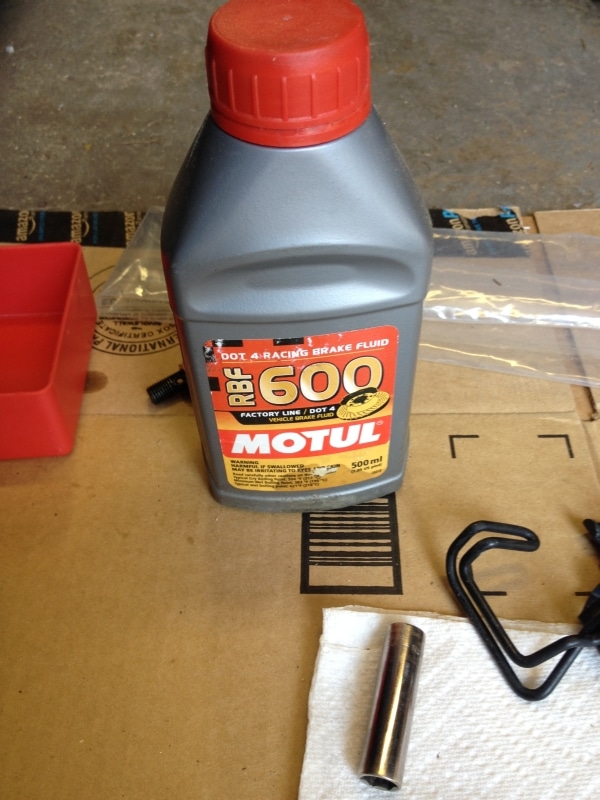
For racing or aggressive riding, one of the first upgrades I recommend is to replace the OEM rubber front brake line with a stainless steel or kevlar braided line. OEM rubber lines are flexible and will expand when you squeeze the lever. This expansion gets worse when the brake fluid gets hot, or the ambient temperature is hot. This makes the brakes feel mushy and less effective than they really are because some of the energy you spend squeezing the lever goes into flexing the brake line instead of squeezing the brakes. Fortunately, the fix is easy and inexpensive, and if money is tight, I recommend changing the brake lines before changing the brake pads to see if the new stopping power is enough without spending the money on new pads. Since a single stainless steel braided front brake line for the R3 costs only $65, there isn’t a better bang for the buck upgrade you can do to your motorcycle. Add another $30 for a brake bleeder to make the job easy (see below) and last you for a lifetime of bikes, and another $18 for some Motul RBF600 racing brake fluid:
and you will be back up and running for under $120 with significantly better brakes and a valuable skill, (how to bleed the brakes or flush the brake fluid on the Yamaha R3). Since the rear brake is hardly ever used, I recommend prioritizing the front brake line, and only change the rear if you are installing aftermarket rearsets and need more room for adjustment.
Here’s a step by step procedure for changing the front brake line on the Yamaha R3 2015:
Once finished, follow the procedure here to bleed the brakes.
Tools Needed:
rubber gloves (brake fluid is bad for you)
paper towels or rags (brake fluid is corrosive and can damage the paint on your bike if not cleaned up)
some cardboard pieces to set on the ground under the bike and work on
bottle of brake fluid, I recommend a high temperature brake fluid designed for racing, I use Motul RBF600
10mm Socket
12mm Socket
14mm Socket
14mm Wrench
8mm Wrench
a torque wrench is useful to torque the banjo bolts, but not completely necessary
a plastic bag for the OEM brake line and hardware is helpful to keep it from making a mess
Pneumatic Vacuum Bleeder connected to an air compressor (It’s possible to change the brake lines without a bleeder, but it takes forever and it’s a huge pain in the ass to get fluid to fill the new lines by just using the brake lever, this makes it SOOO much easier)
I don’t recommend using the common hand pump style vacuum bleeder like this:
I think they are a huge pain in the ass, the container is too light weight and falls over while trying to use it, and it’s too hard to seal to maintain vacuum, and they break easily, super annoying.
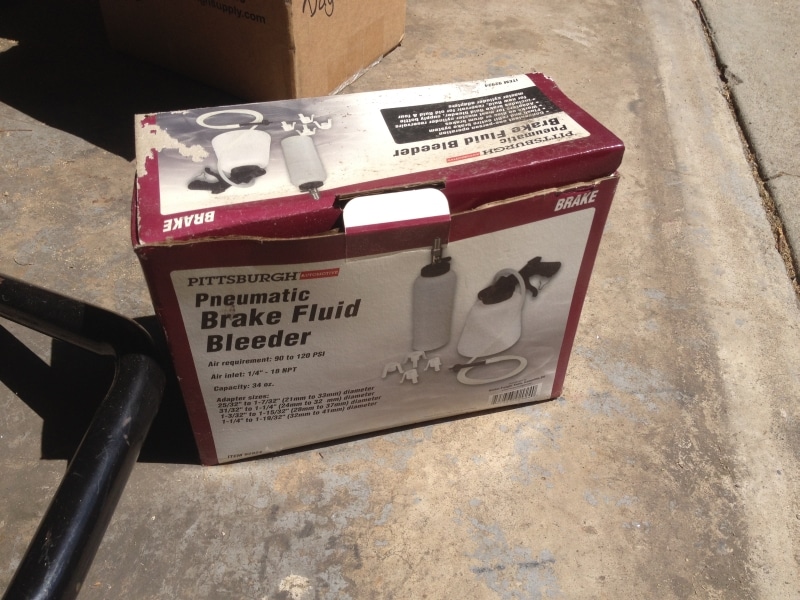
Instead, I use and highly recommend getting a pneumatic vacuum bleeder like this, they are almost the same price, like $30:
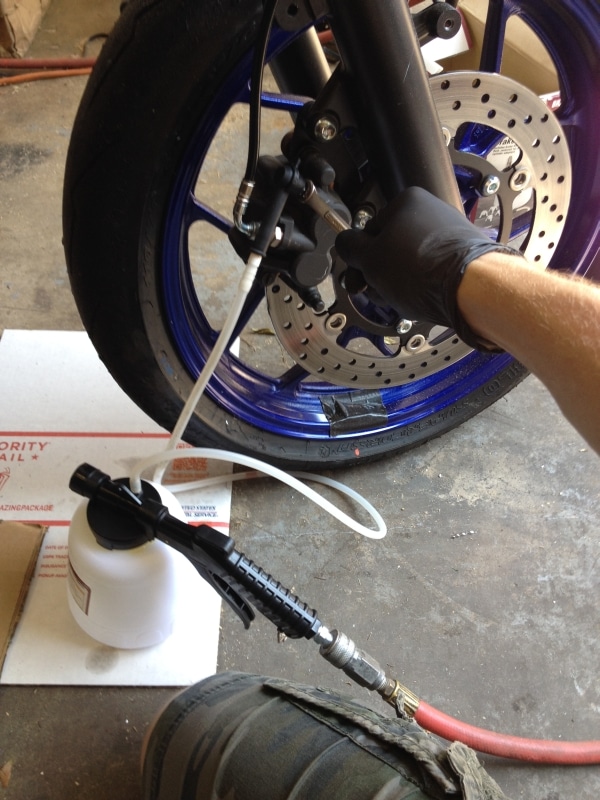
And they are SOOO much easier to use to draw fluid into a new line. You connect it to an air compressor and it uses a Venturi to create vacuum. You just squeeze the handle for continuous vacuum, awesome. Plus, the hose is more flexible than the cheap hand pump style kits, and the fluid reservoir is weighted so it just sits there while you work instead of tipping over and frustrating the crap out of you. I bought mine from Harbor Freight for about $40, but here’s a link to one from Amazon that includes 2 lines which makes it much easier to use for other bikes with dual caliper front brakes so I’d get this one if I did it again:
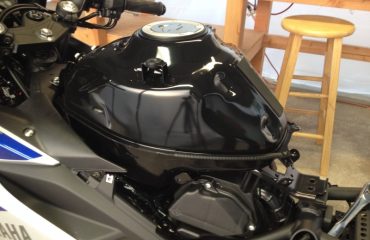
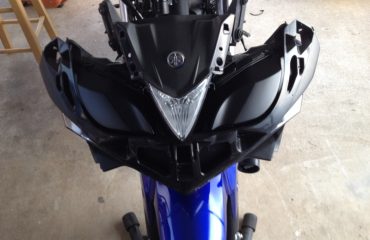
I had the bodywork off my bike when I did this install, but it isn’t necessary. You can change the brake line with all of the bodywork in place. Set down some cardboard scraps under the bike and where you are planning to work to keep everything clean. You can put the bike up on a rear stand, however, because of the angle of the master cylinder, I found it easier to refill and get the air out of the line with the bike on the kick stand instead.
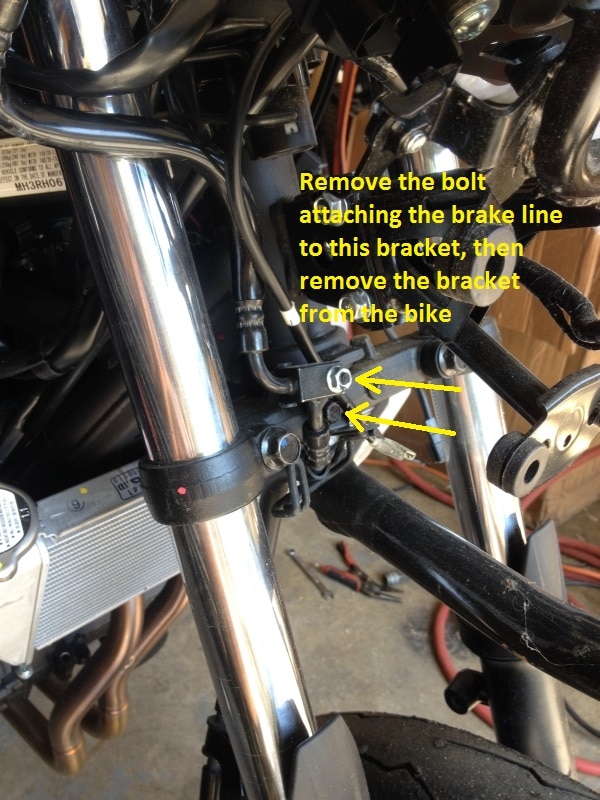
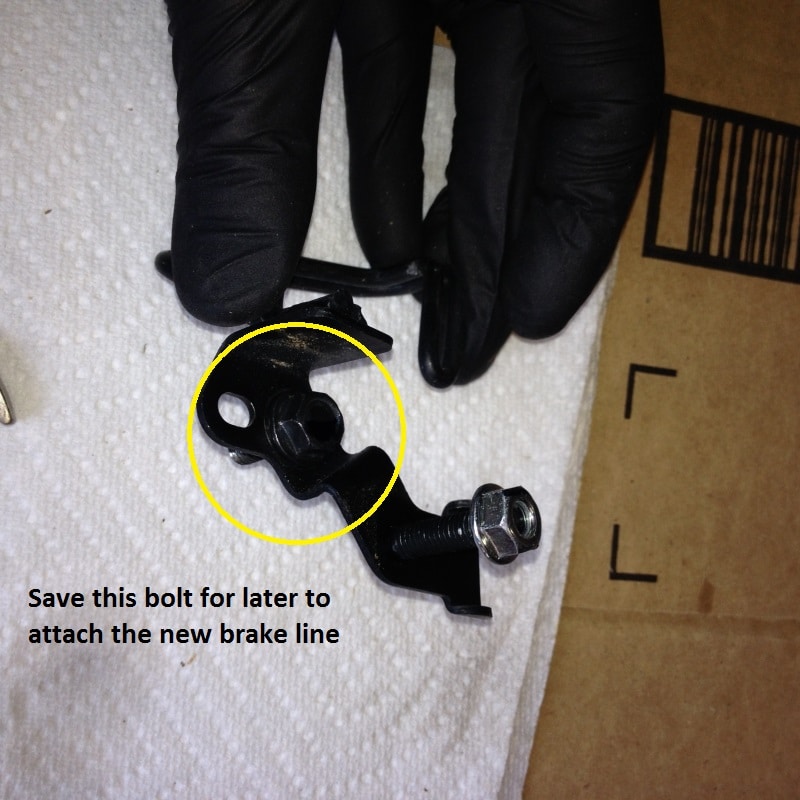
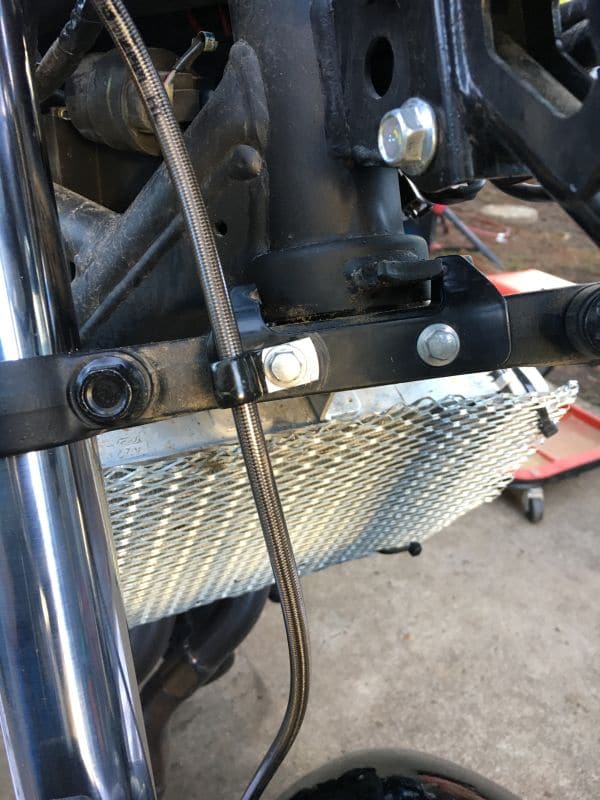
Step 1: Use a 10mm socket to remove the brake line from the bracket, then remove the bolt attaching the bracket to the lower triple clamp and set the bracket aside, you do not need it anymore. Save the bolt that attached the bracket to the triple clamp, it is useful for attaching the new brake line later on.
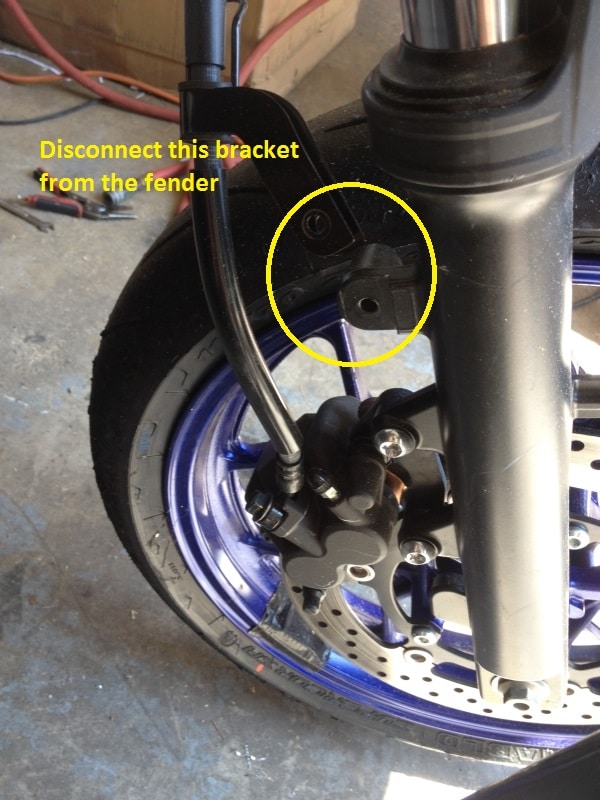
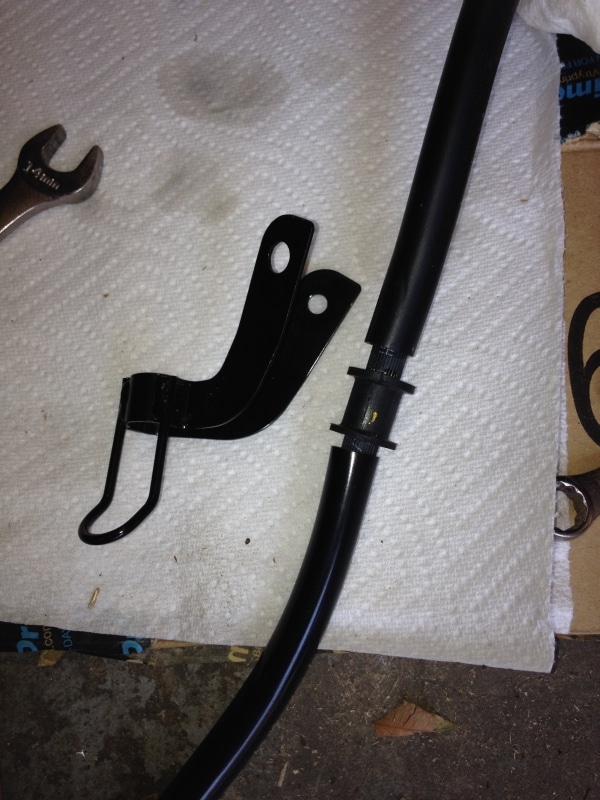
Step 2: Use an 8mm socket to remove the clamp attaching the brake line to the front fender. Pry this clamp open to remove it front the OEM brake line and set it aside, it works well to attach the new brake line to the lower triple clamp.
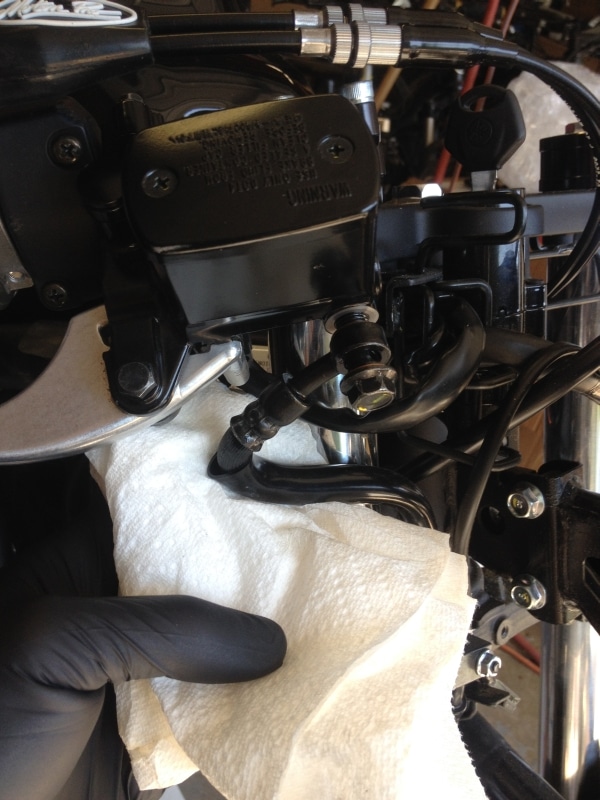
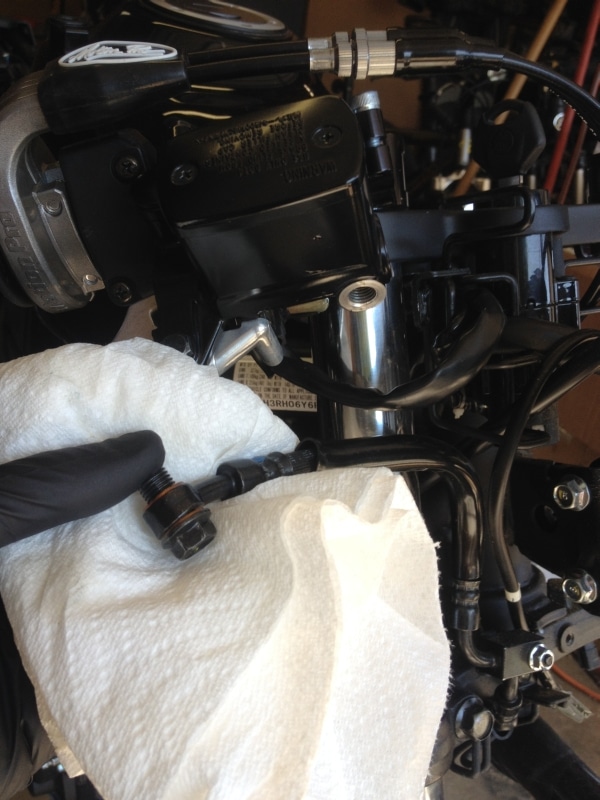
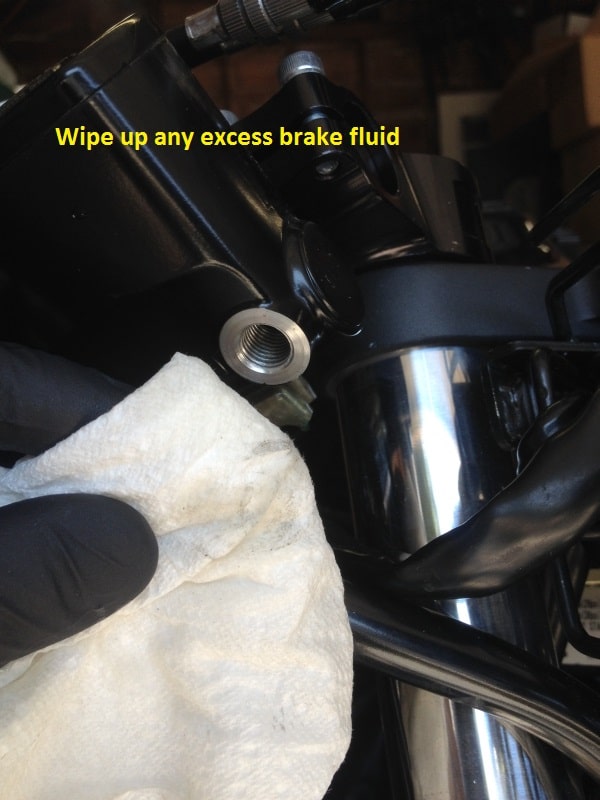
Step 3: Use a 12mm socket to remove the banjo bolt at the master cylinder. Wear gloves and wrap the area with a rag, brake fluid will leak out once you remove this bolt. Wipe up any dripping brake fluid from the area and set the disconnected end of the brake into a container to catch the brake fluid as it drains while you keep working.
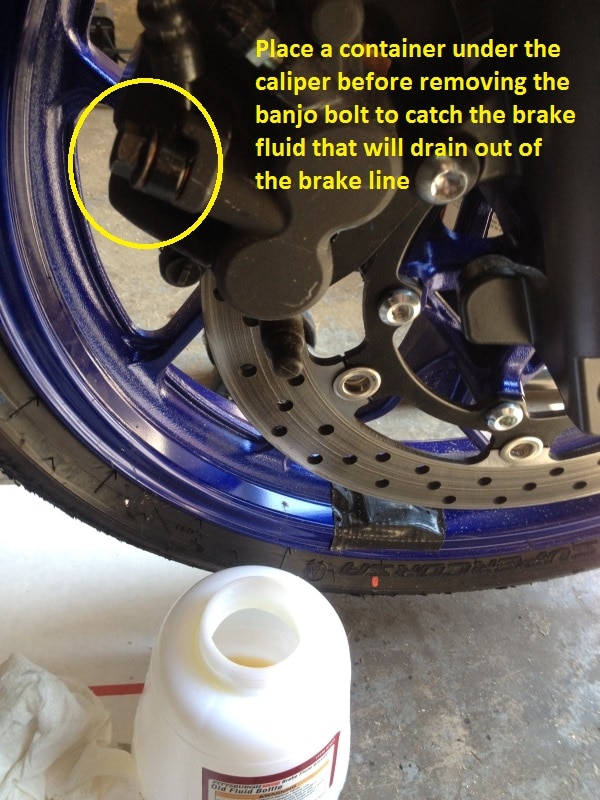
Step 4: Use a 12mm socket to remove the banjo bolt from the brake caliper. Set your drain pan or brake fluid container under the caliper to catch the fluid that drains out. Allow all the fluid to drain, then use a rag to immediately wipe up any excess fluid from the area. Put the brake line and banjo bolts in a plastic bag and set them aside where they won’t make a mess.
***I like to install the brake caliper side of the line first, some people prefer to install the master cylinder side first, it doesn’t really matter.
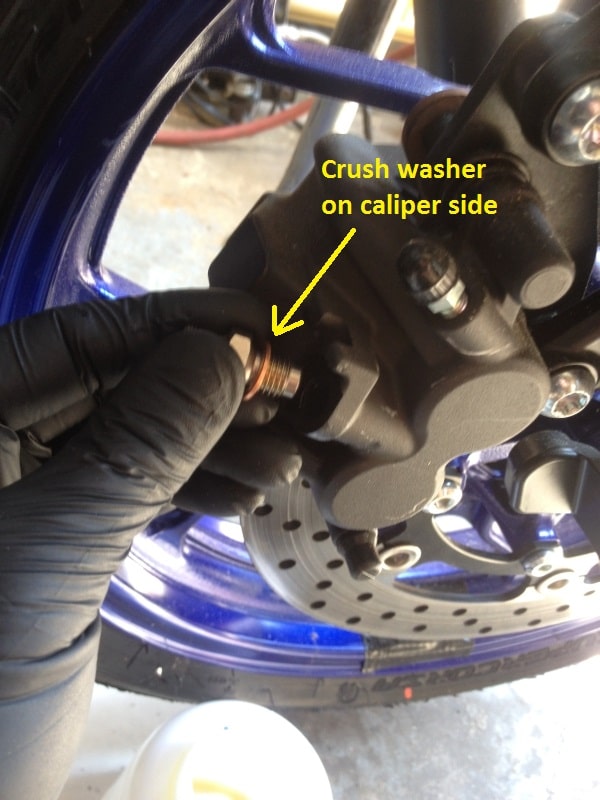
Step 5: Locate the male-male fitting and make sure it has a copper crush washer on the side that threads into the caliper. Thread the fitting into the caliper and tighten it down tight so it seals against the crush washer. Torque the fitting to 21 ft lbs.
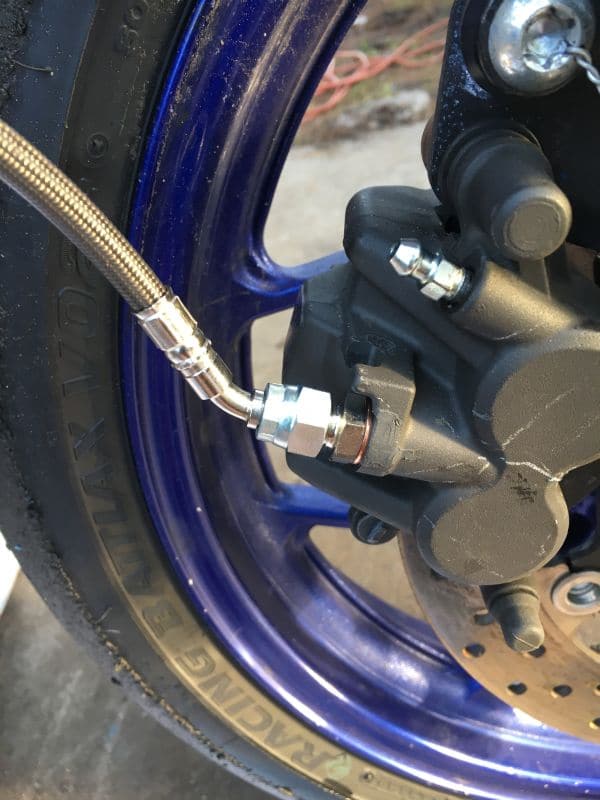
Step 6: Thread the brake line onto the fitting in the brake caliper. Snug the fitting down and run the line around the fork to where it will connect to the master cylinder. While holding the brake line pointed up, tighten the fitting with the 14mm wrench. This fitting has to be very tight to seal properly. When you try to bleed the brakes later, keep an eye on this fitting, if it leaks, tighten it down more.
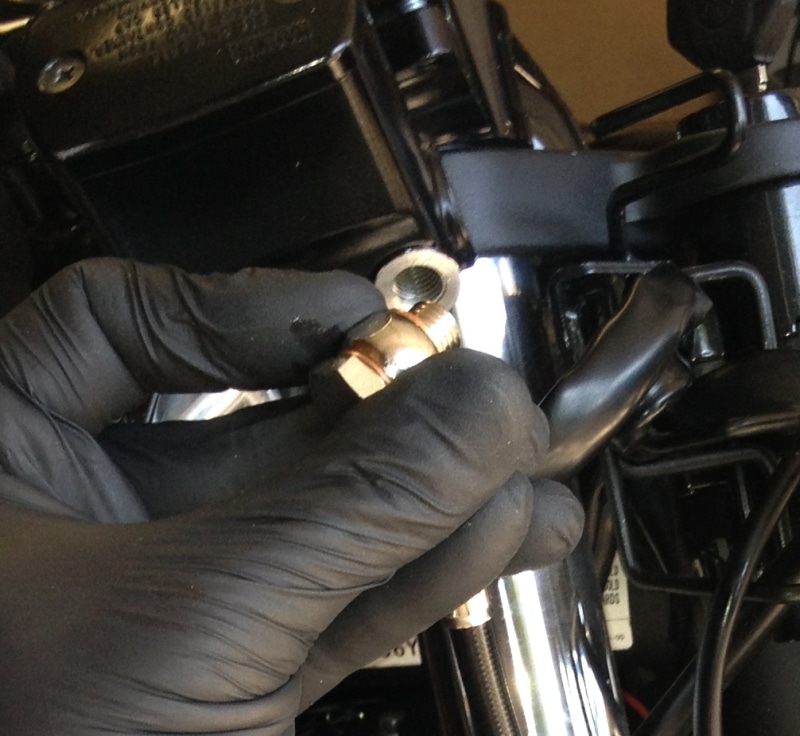
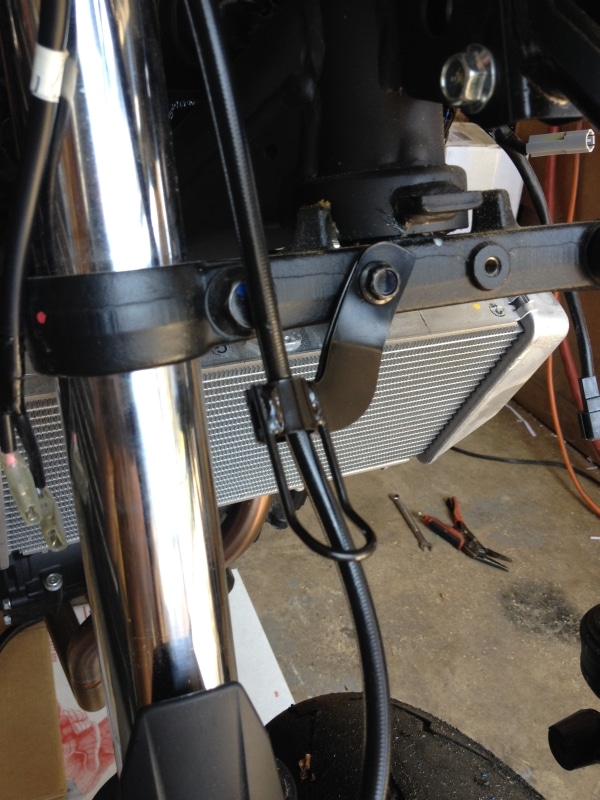
Step 7: Locate the new banjo bolt and (2) new copper crush washers. Place one washer on the bolt, then put the bolt through the brake line fitting, then add the second crush washer (see photo below). Proper installation of the crush washers is critical!!! Routing of the brake line may vary with different lines, but if you are using my Race Spec. lines, route the line behind the fork leg and between the forks above the fender and up to the master cylinder. Align the cable as seen in the photo below and hold it in place while you tighten the new banjo bolt to 15 ft lbs to seal the crush washers. The OEM banjo bolt is torqued to 21 ft lbs, but it is a steel bolt and the replacement bolt is aluminum, 21 ft lbs will damage the new aluminum banjo bolt.
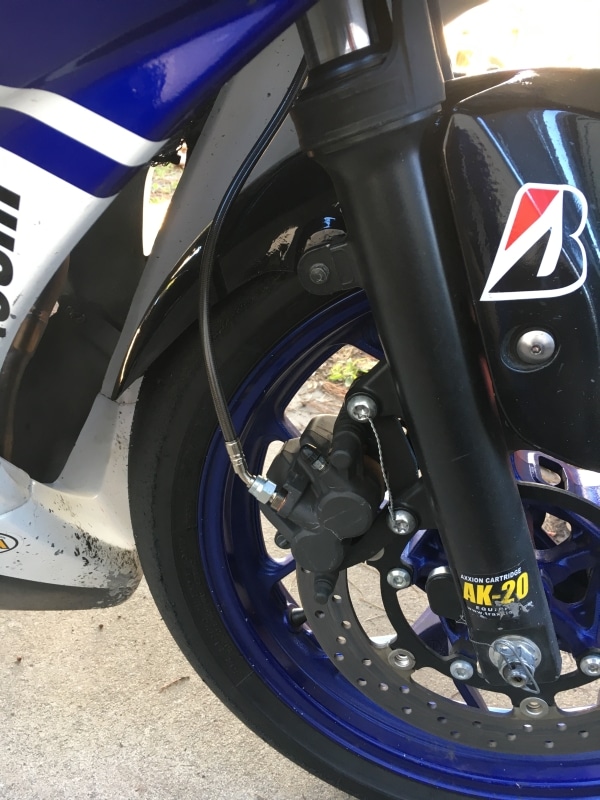
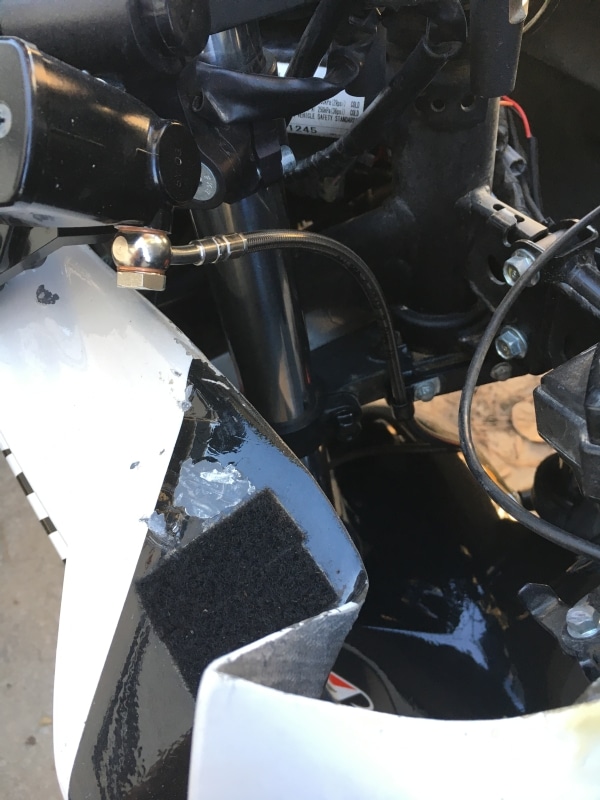
Step 8: The new brake lines should come with a replacement clamp to secure the line to the lower triple clamp, but if not, you can always reuse the oem clamp, you just may have to bend it a little.
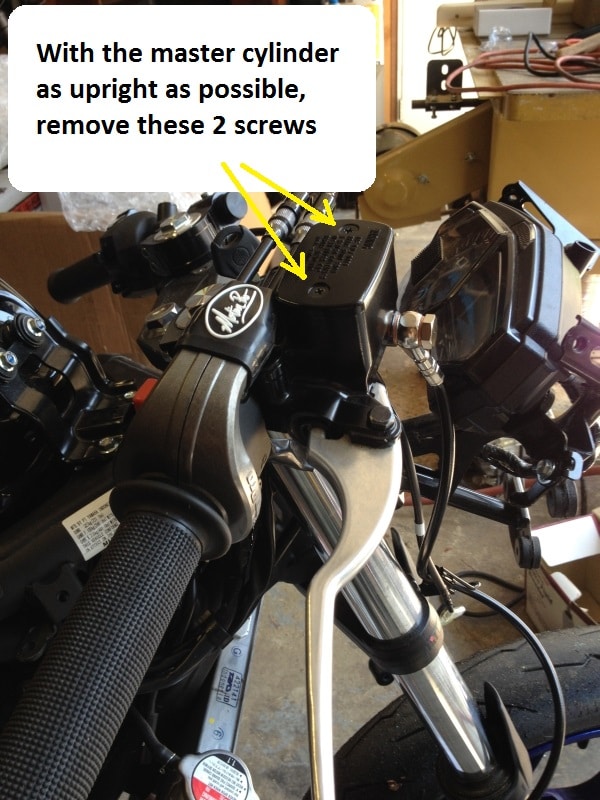
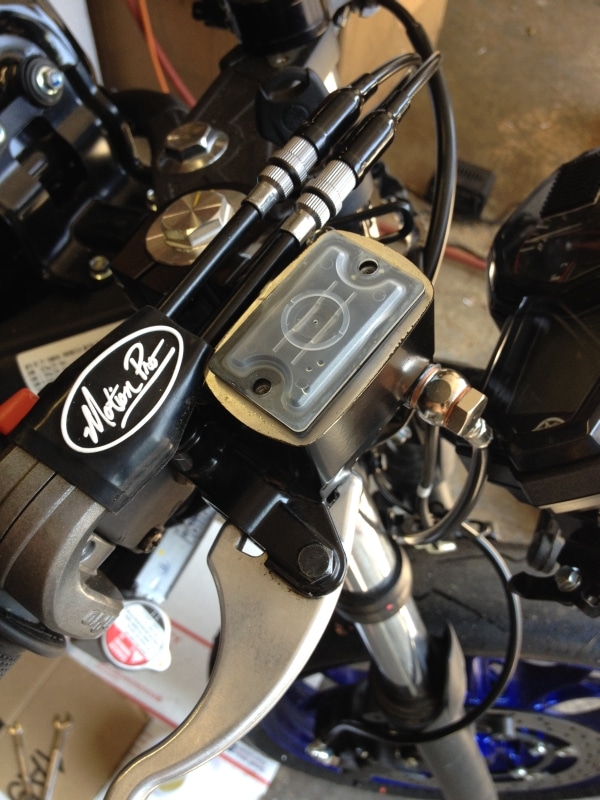
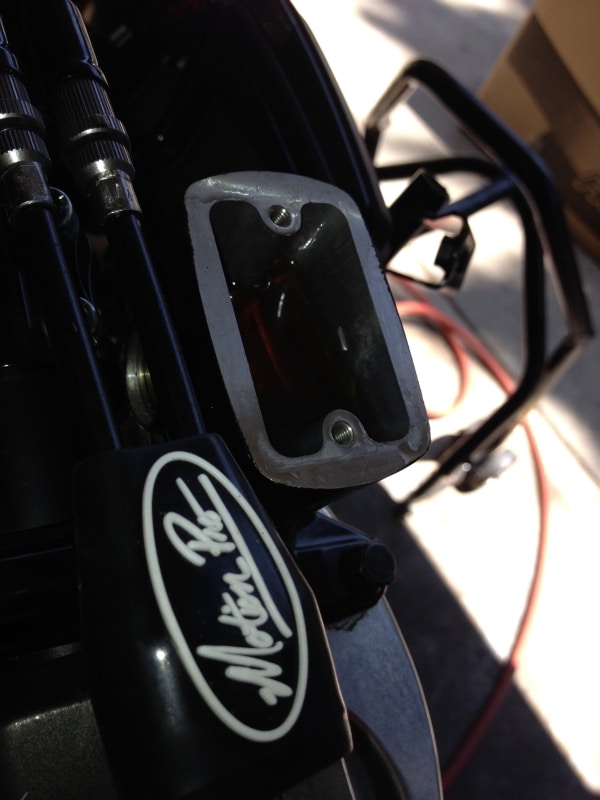
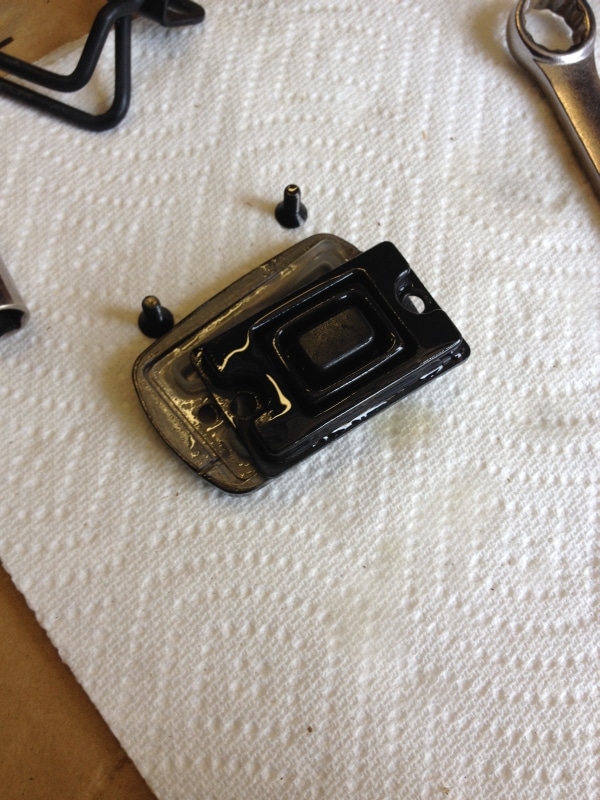
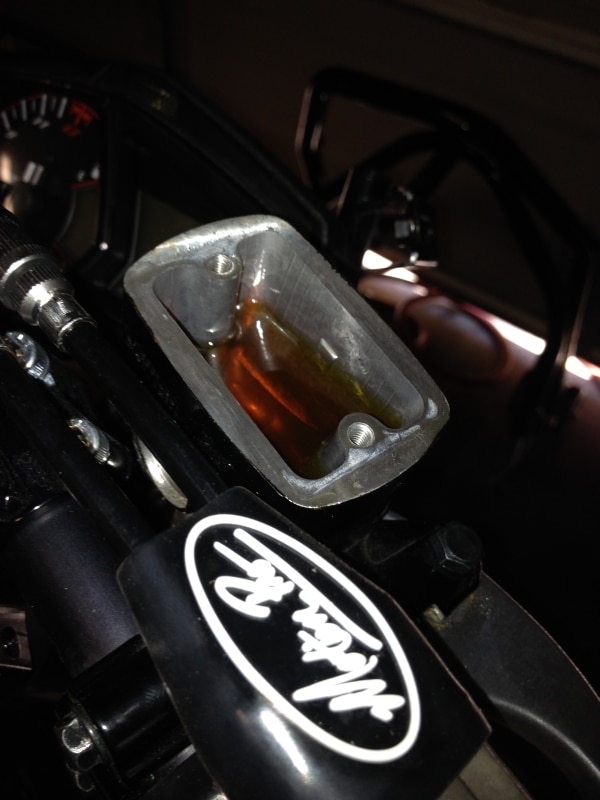
Step 9: With the bike on the kick stand, turn the bars all the way to the left. Use an 8mm socket to loosen the clamp bolts on the brake lever/master cylinder and adjust the master cylinder so that it is as upright and level as possible, then tighten the clamp back down so it doesn’t move later while you are bleeding the brakes. Remove the 2 phillips screws on the master cylinder and carefully remove the lid, plastic insert, and rubber boot. If the rubber boot is extended, collapse it back so it looks like the picture below.
Step 10: Connect your vacuum pump to an air line and squeeze the handle to start the vacuum. Use the vacuum pump to remove as much fluid from the reservoir as you can before refilling it with new fluid. Fill the reservoir with fresh brake fluid. Brake fluid gets crusty if it sits open on the shelf for too long, so always use new fluid, or at least check the fluid you have before you pour it into your reservoir and make a big crusty mess.
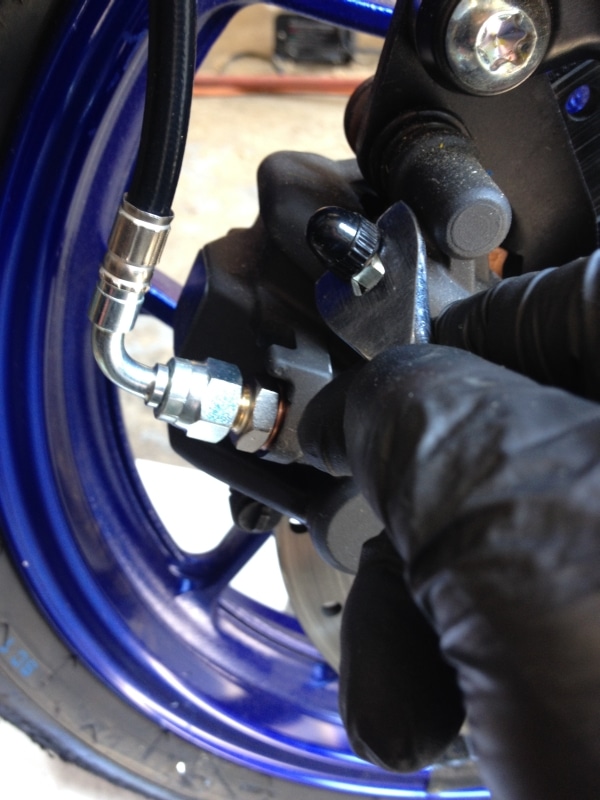
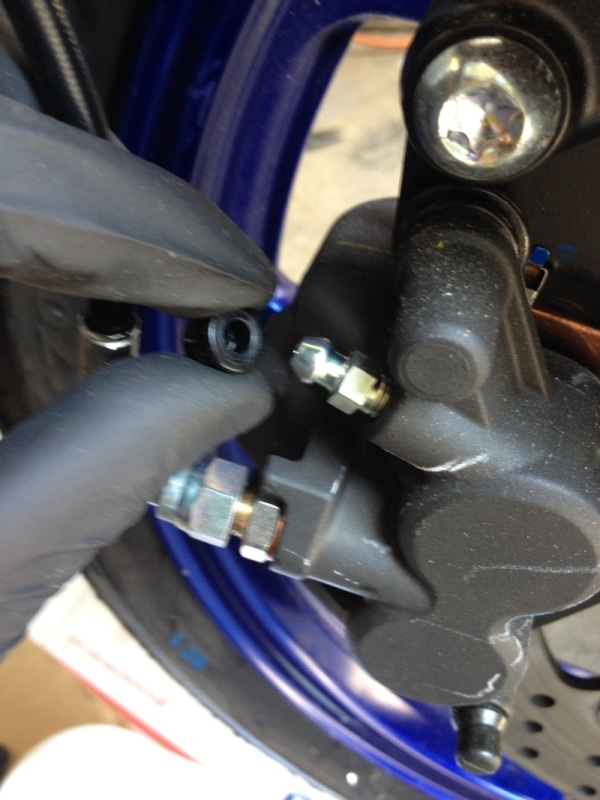
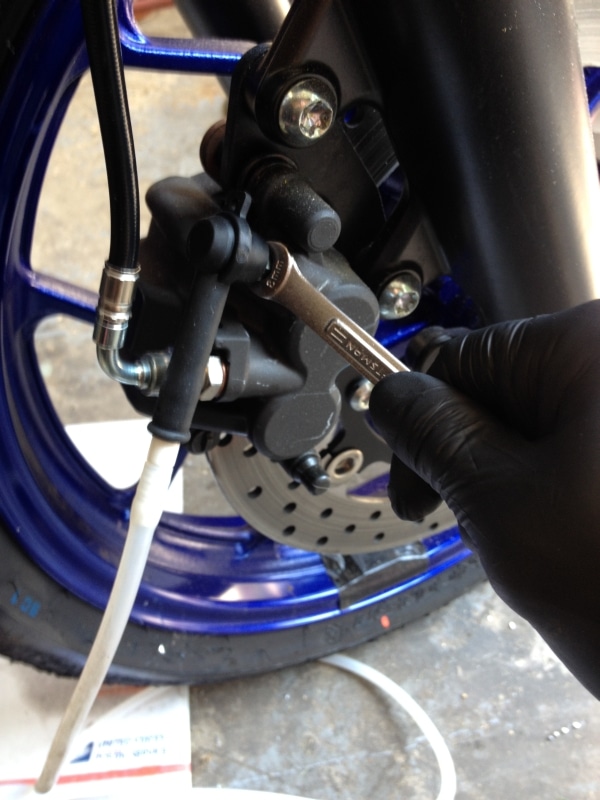
Step 11: Pry the plastic cover off the bleed nipple and slip the end of the vacuum line over the bleed nipple. Start the vacuum, and while holding the vacuum on, use an 8mm wrench to crack open the bleed nipple. Open the nipple far enough that fluid begins to flow (the level starts to drop in the reservoir). Don’t let the reservoir run dry and be sure to close the nipple before shutting off the vacuum. Fill the reservoir again, and repeat until you see brake fluid flow out of the bleed nipple into the vacuum line. Always starting the vacuum before opening the bleed nipple, and closing the bleed nipple before stopping the vacuum.
Once you see fluid start to flow out of the bleed nipple into the vacuum line, close the bleed nipple then stop the vacuum, you are finished filling the line with fluid and you need to bleed the line to get all of the air out. Go to my other post here for instructions on bleeding the brakes on the Yamaha R3.
About Norton Racing
8 Comments to “ How to install a stainless steel braided front brake line on the Yamaha R3 / MT-03”
You must be logged in to post a comment.


With this upgrade you lose the abs. Am i right?
Upgrading to a SS brake line should not affect your ABS if your bike has ABS.
yes but if you use this method you bypass abs.
Okay, thank you for mentioning this. I am not familiar with the installation for the ABS model as we do not have the ABS model in the US.
Thank you!
Hi mate, thank you for the post. One question.
I can see the fitting your braided line uses at the caliper side is not a regular banjo bolt. It is different. What type of fitting is that one? What’s the difference between that one and a regular banjo bolt?
Can you name the brand of braided lines you used?
Thanks!!
They are my own lines made by Galfer:
https://www.norton-motorsports.com/product/race-spec-superbike-stainless-steel-braided-brake-lines-yamaha-r3-2015/
They use a superbike style fitting, it is less restrictive at the joint than a standard banjo bolt fitting. whether or not it is a noticeable difference with the R3, I can’t confirm, as I haven’t personally tested both back to back, but in theory, it has higher flow.
Is it similar to that of abs model of Yamaha R3
The ABS model is different